Everglades National Park is huge. It’s the 10th largest National Park in the country (and the 3rd largest outside of Alaska.) Even so, it’s possible to sample some of the park’s best landscapes and wildlife in a single day. This post will show you exactly how.
One of the great things about this itinerary (and Everglades National Park in general) is that it’s extremely accessible. There are no long hikes, tall peaks or intense advance planning required. That makes it a perfect National Park for kids and families.
Grab your bug spray and your binoculars and let’s head to Everglades National Park!
Plan Your Visit to Everglades National Park
Before we really get into it, let’s do a quick rundown of planning essentials.
- When to Visit: November to May is the best time to visit. It’s cooler, drier, and less buggy.
- Where to Fly: Miami, Florida
- Where to Stay: Homestead, Florida is generally considered the home-base for visiting the Everglades. There are several hotels to choose from, as well as restaurants and stores if you need anything. (We stayed at TownePlace Suites.) You can also stay in Miami, it’s just a longer drive.
- How Long to Stay: You can get the gist in 1 day or you can do a bit of everything with 2 days. You could fill a third day, but you definitely don’t need one.
- Getting Around: A car is needed to get around the Everglades. If you’re flying into Miami, the rental car agencies are a short tram-ride from the airport.
- Packing Essentials: Bug spray, sunblock, water bottle, comfy sneakers (hiking boots not required)
About this Itinerary
This one-day itinerary will guide you through the highlights of Everglades National Park in southern Florida. It’s great for first-timers, kids, and casual explorers.

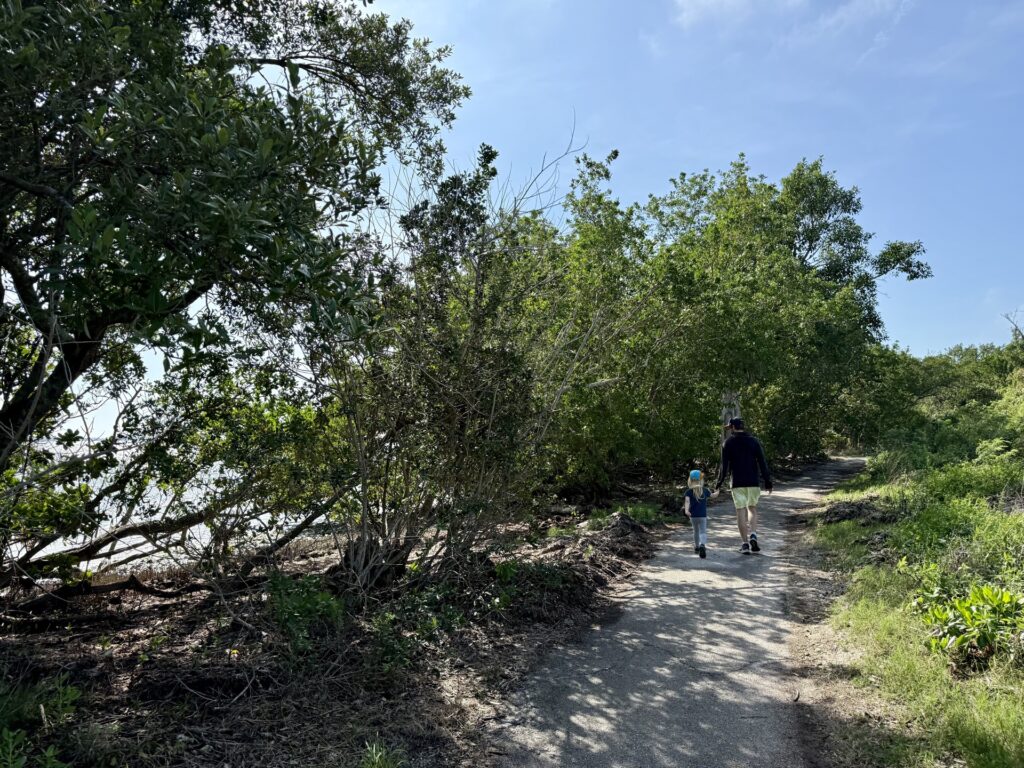
This route follows the main park road through the southern half of the park, following an out-and-back path from Ernest F. Coe Visitor Center to Guy Bradley Visitor Center, making stops along the way. This is the a more traditional National Park experience route through the Everglades, which includes nature trails, viewpoints and wildlife spotting.
Tip! If you’re traveling with children, this route is perfect for the Junior Rangers program. Grab a book from the first visitor center. Work on the book in the car and during the hikes along the way. Then, share your work and get your badge at the next visitor center.
To cover the ground between stops, you will need a car. There is no regular shuttle service that stops at the trails in Everglades National Park. (That’s the one thing we don’t love about the National Parks — so much driving!) You will have to drive to all the sites on this itinerary. Each stop listed here has a parking lot adjacent to the site or trailhead.
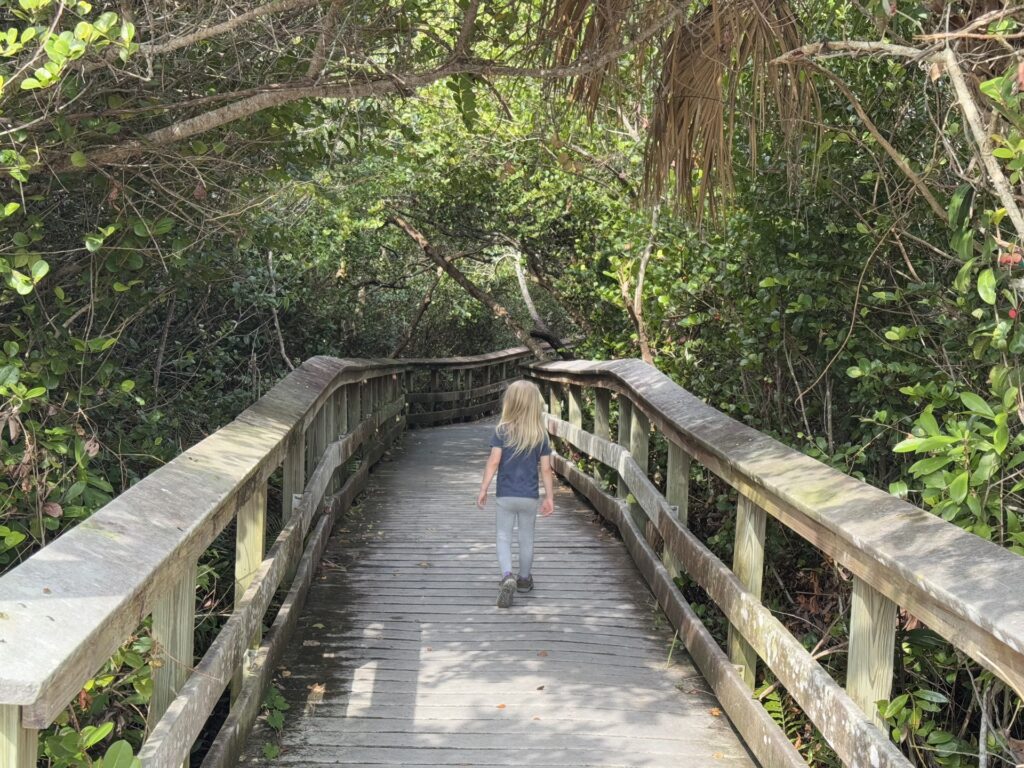
The highlight of this itinerary is the nature trails. We’ll stop at 7 trails, which are all relatively easy. Almost every hike is half a mile or less, almost entirely flat, and accessible (suitable for wheelchairs, strollers, etc.) It’s perfect for children, but also for older adults or travelers who mobility impairments.
And lastly, a quick disclaimer about what this itinerary does not include.
Since this itinerary follows the southern route, and it does not include Shark Valley and the tram tour. (We actually had tickets booked for this, but it was so much driving that we bailed last minute.) It also doesn’t include any sort of water or boating excursions, which are available and popular in the Everglades.
If you want to do either of those attractions, we’d suggest planning a second day in the park.
Everglades National Park 1-Day Itinerary
Without any further ado, let’s begin our day at Everglades National Park. (There’s also a summary of this itinerary and a detailed map at the end of this post.)
Ernest F. Coe Visitor Center
Opening Hours (subject to change): 9 AM to 5 PM April through Mid-December / 8 AM to 5 PM Mid-December through March
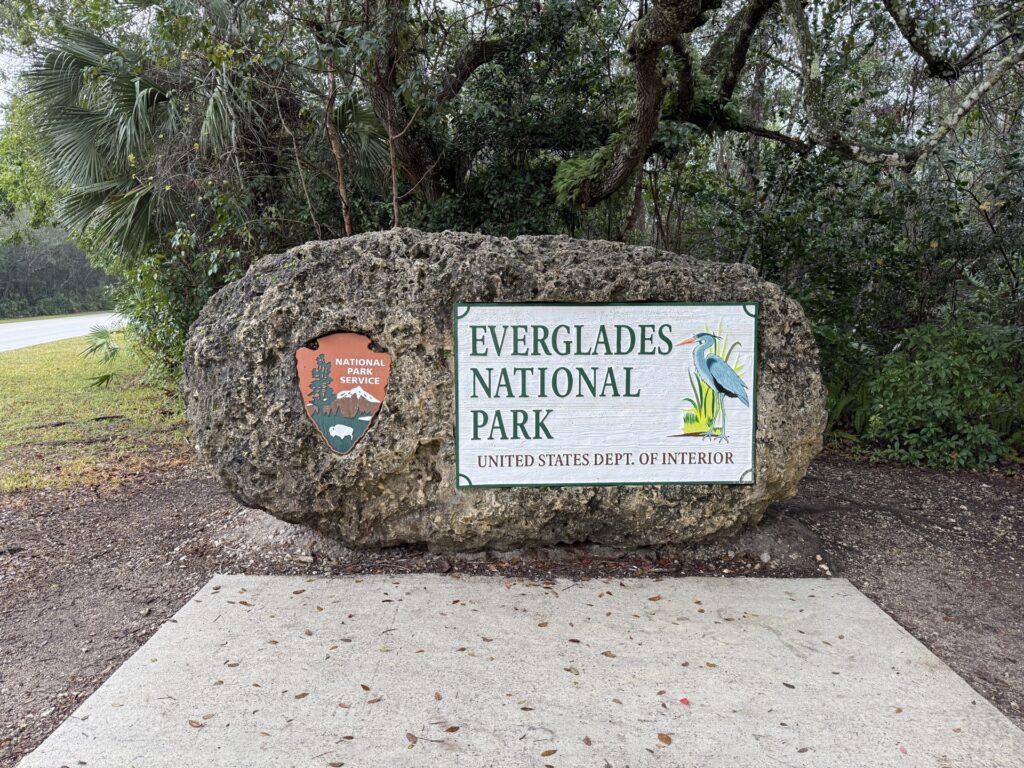
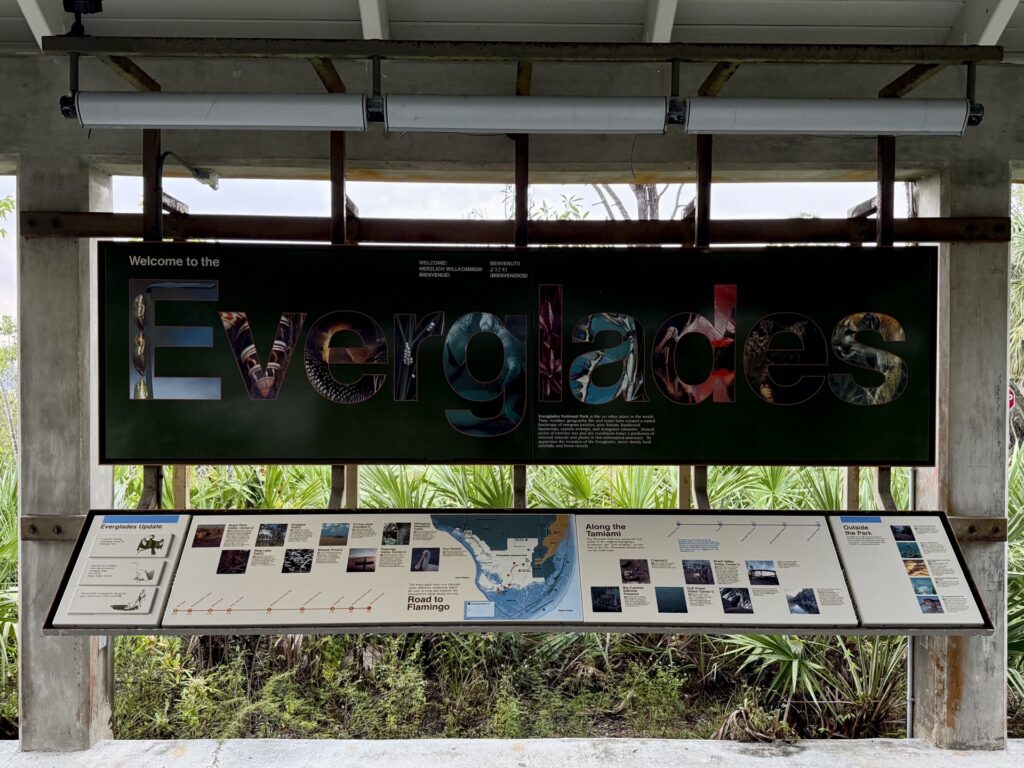
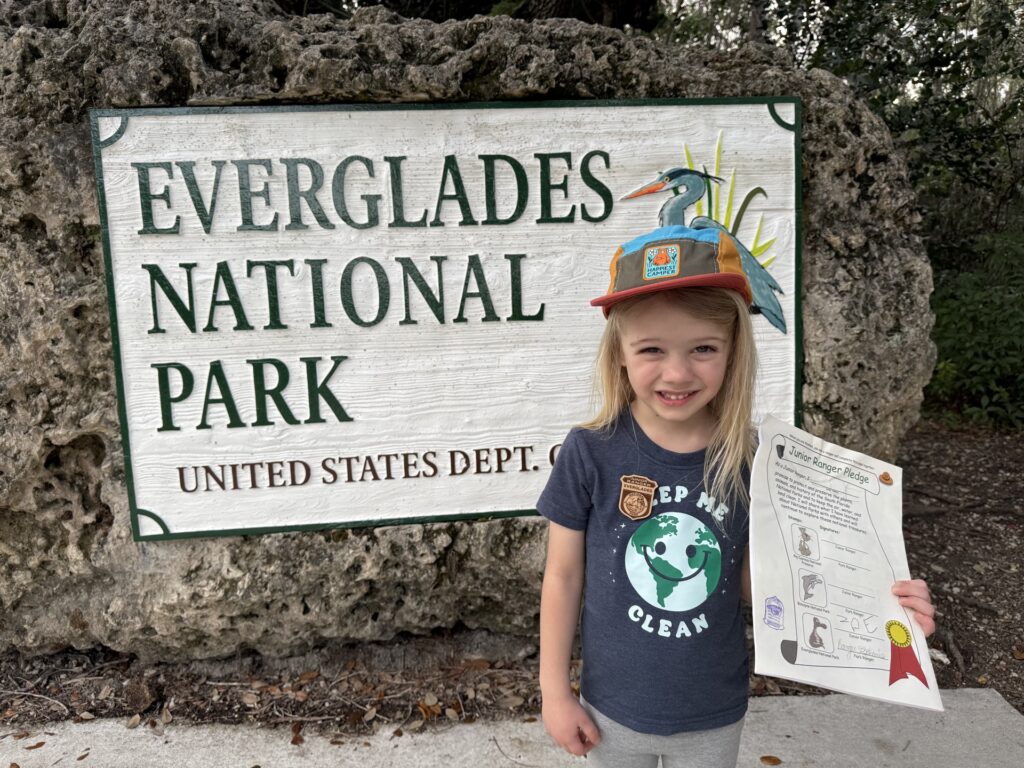
Tip! The official Everglades National Park sign is just before the visitor center. There is a pull-off spot on both sides of the road if you want to pop out for a photo.
Ernest F. Coe Visitor Center is a great place to start your trip. Take a walk through the exhibits (indoor and outdoor) to learn about the plants and wildlife you’re about to see. Be sure to go out the rear doors for a nice view of the nearby pond.
There’s a small shop inside with a selection of apparel, toys, books, and the like. We always like to grab a sticker from each National Park. The also have a small selection of snacks and drinks.
Finally, be sure to swing by the Ranger Station. You can ask questions, get advice, or just chat with a local expert. If you’re traveling with children, be sure to grab a Junior Ranger book.
Tip! Junior Rangers a free program that is offered at all of the National Parks. Each park has an activity book / learning guide. Kids can complete the activities and earn a badge for that park.
This visitor center is actually outside of the official park entrance, so it’s free to visit. Just after the visitor center though, you’ll pass through the main entrance station. The entry fee is around $20-$35. If you visit more than two National Parks a year, it’s probably worth it to buy an Annual Pass, which includes unlimited entry.
Anhinga Trail
Distance: 0.4 miles
Surface: Paved and Boardwalk
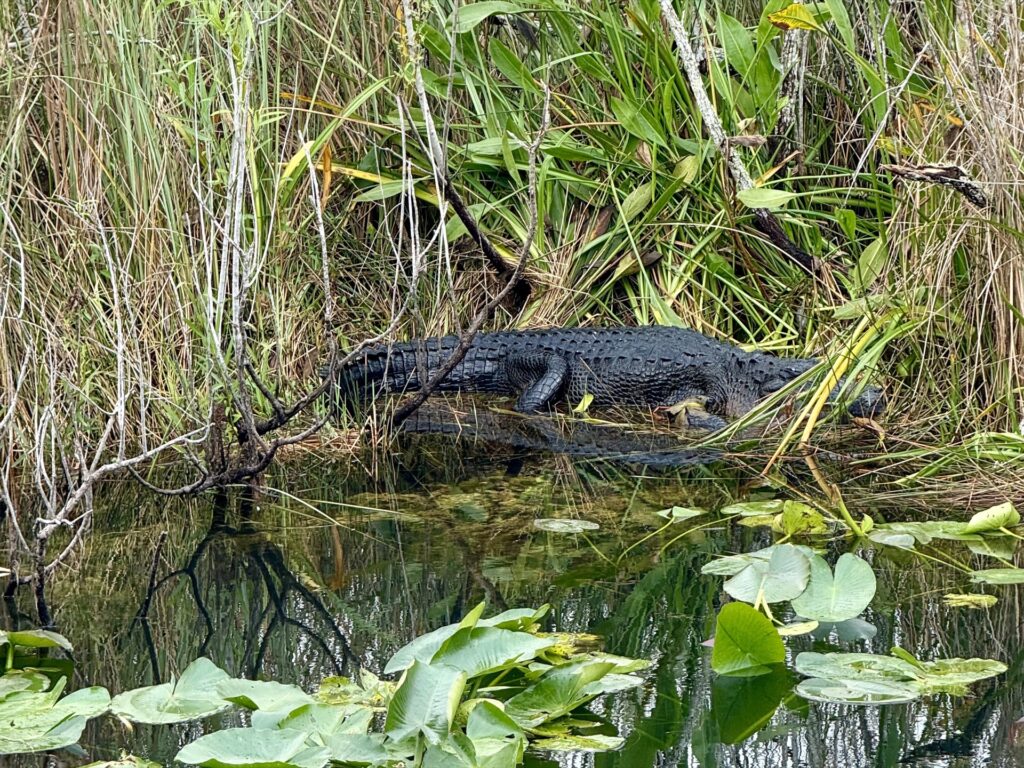
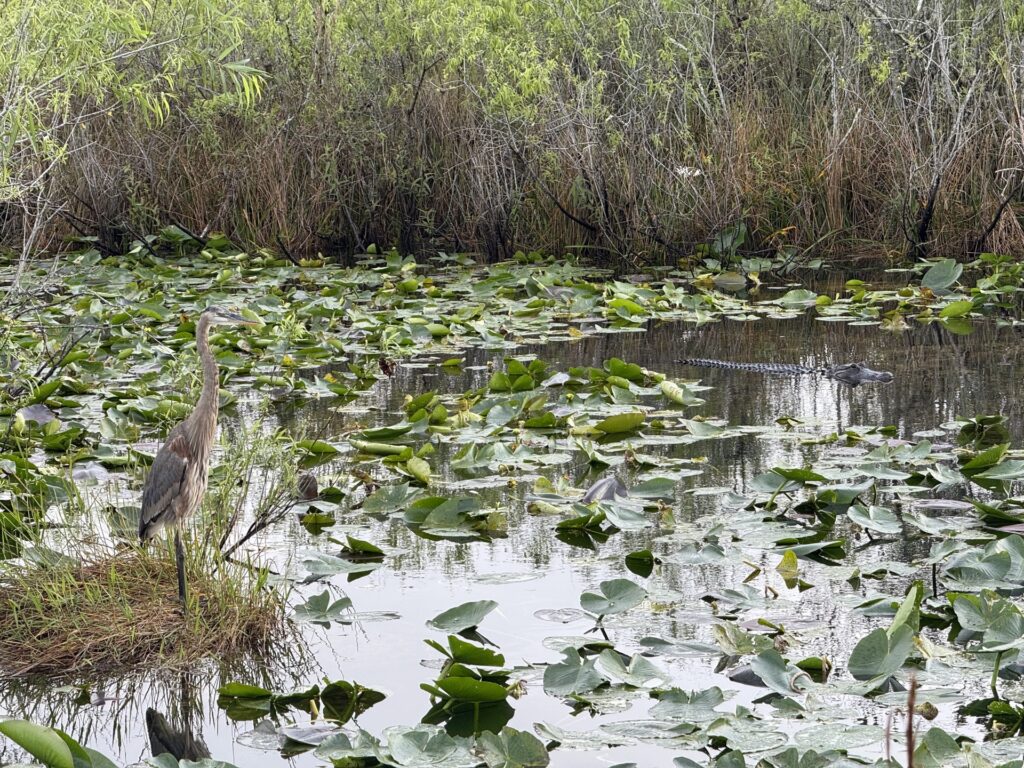
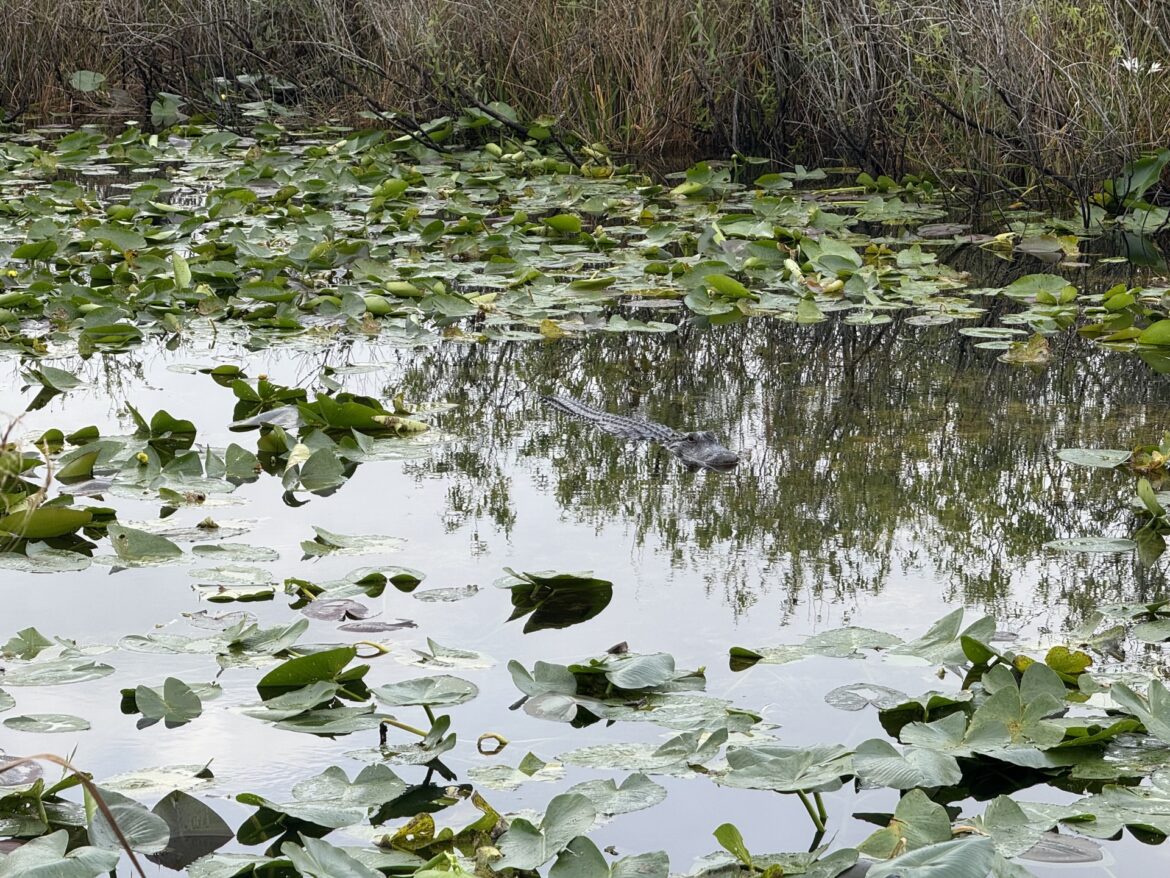
The first trail of the park is the best one. If you do one thing in Everglades National Park, do this. It was definitely the highlight of the trip, primarily because of the wildlife spotting. (And by wildlife, I mean alligators.)
This trail starts at Royal Palm Visitor Center. It’s a really small visitor center though, even compared to Ernest F. Coe. It may not even be open when you get there, depending on how early you start.
The trail begins behind the visitor center and follows the water. The first pond you walk by is one of the most common places to spot alligators. Keep your eyes peeled, because they really camouflage well.
Note: Always be cautious and respect alligators (here, and everywhere). Alligator attacks are extremely rare, though, and there have been no fatal alligator attacks in Everglades National Parks.
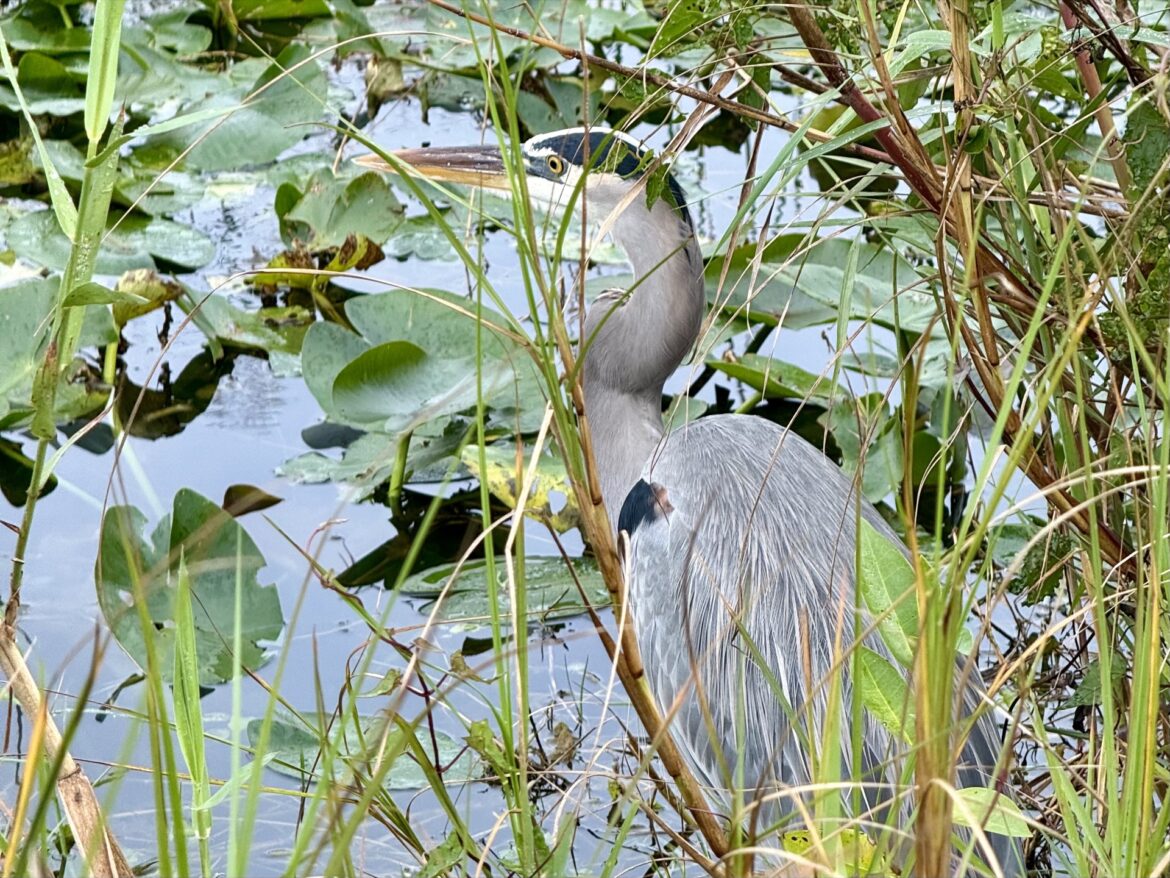
The trail then splits off into a boardwalk loop, which winds over the marsh. We didn’t see any alligators in this area, but we did see lots of birds. The highlights were of course the Anhinga, for which the trail is named, and I also really loved the Purple gallinules, which walk atop the lily pads.
This trail is lovely and quiet, but pretty popular. The crowds were helpful in spotting the gators I may have otherwise missed. There are also benches at some of the viewpoints if you want to take a rest.
Gumbo Limbo Trail
Distance: 0.4 miles
Surface: Paved
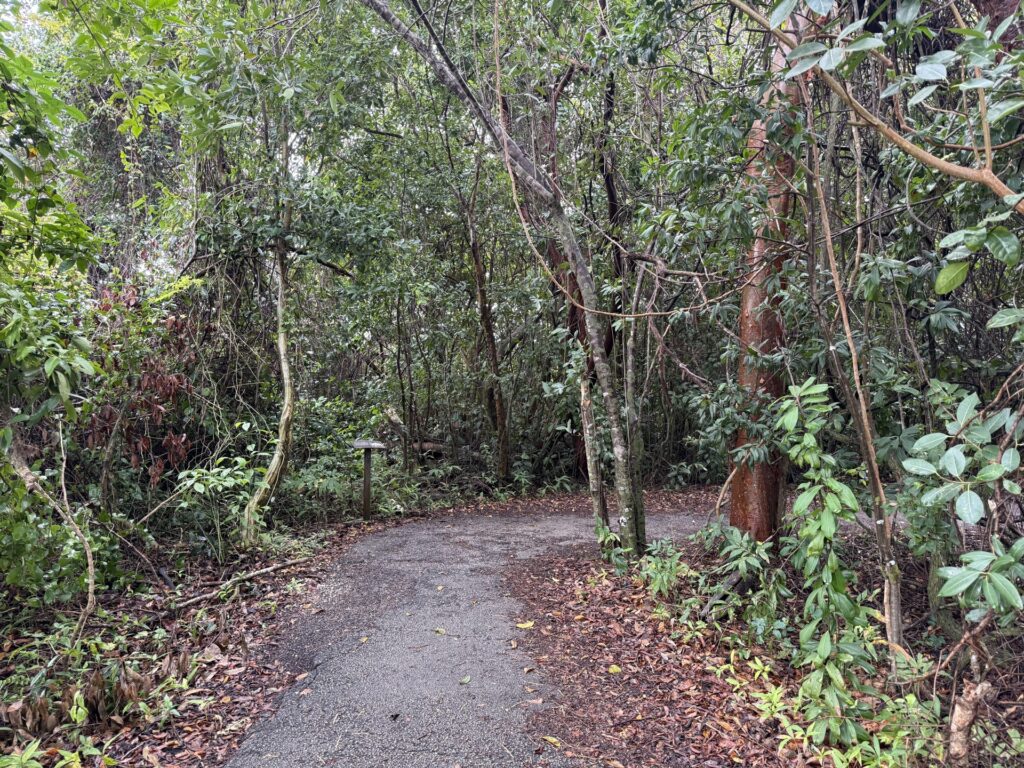
This trail begins just steps away from Anhinga Trail but winds through a completely different ecosystem. This trail cuts through a hardwood hammock, which is essentially a shady, tropical forest.
Along this trail, you can spot tall oak trees, ferns, and of course the name sake Gumbo Limbo tree. If you pay close attention, you’ll start to spot lizards, birds, and tree snails.
This trail is quieter than the Anhinga Trail, and much less traveled. (The main alligator spotting trail is a tough act to follow.) It’s shady and cool, and overall just a nice walk.
Pinelands Trail
Distance: 0.4 miles
Surface: Paved
Continue down the main road and you’ll hit the next trail. There are a few interesting things about this trail if you know where to look.
One thing you might notice is all the holes in the ground. This is called karst, and it’s a result of the soft limestone bedrock that basically forms a bunch of mini sinkholes.
Another thing you might notice is how sparse the trees are, particularly in contrast to the hardwood hammock you walked through on the last trail. This is a result of fire.
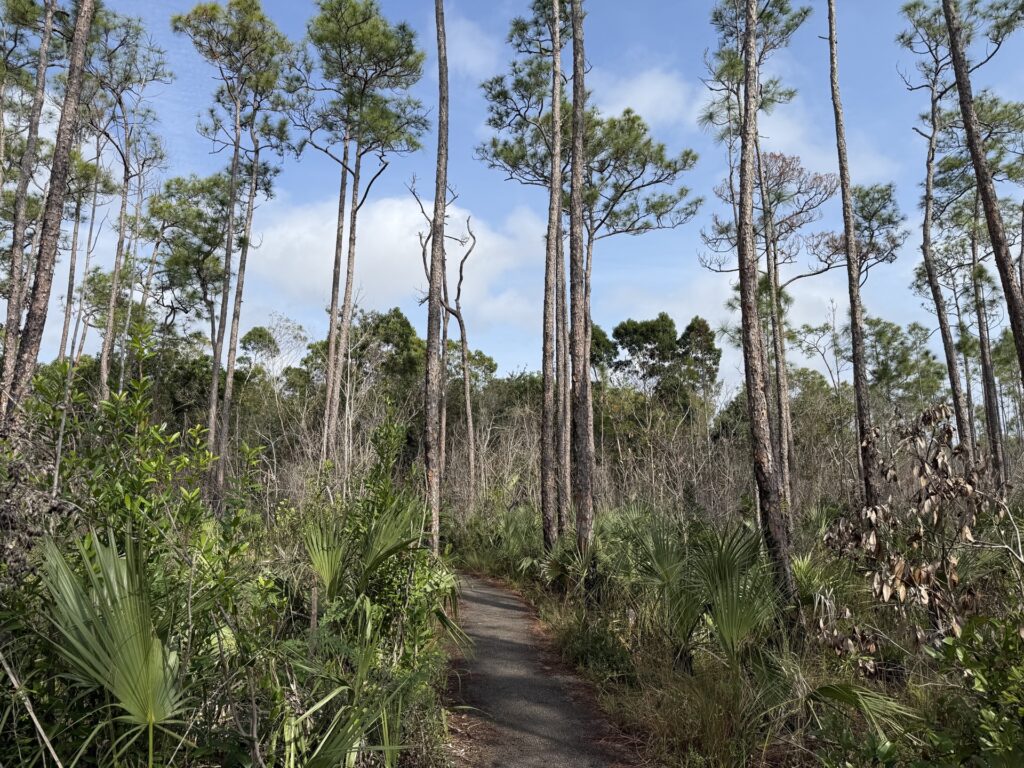
These pine trees are better protected from fire than other trees. They also need a lot of sunlight, so the trees and saplings grow well after other vegetation burns down. The result is the sparse, pine forest you see in the Pinelands. If there were no fires, these trees would ultimately give way to the larger shade trees.
Be sure to read the sign at the entrance for more info and enjoy this lovely little trail.
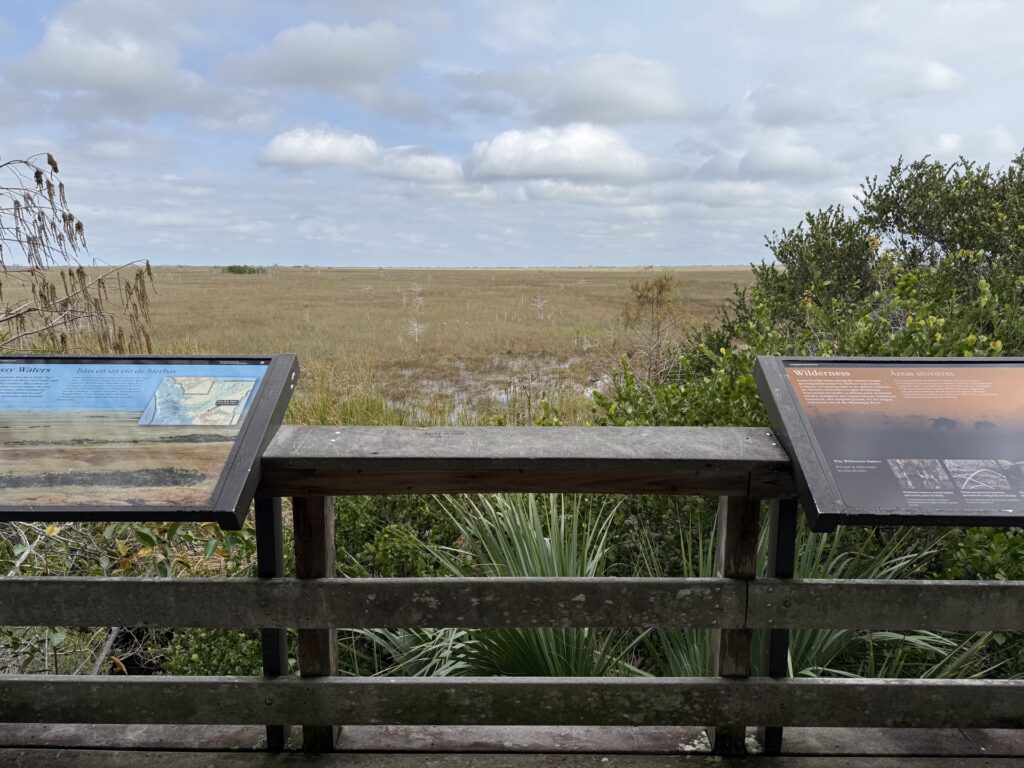
Pa-hay-okee Trail
Distance: 0.2 miles
Surface: Boardwalk
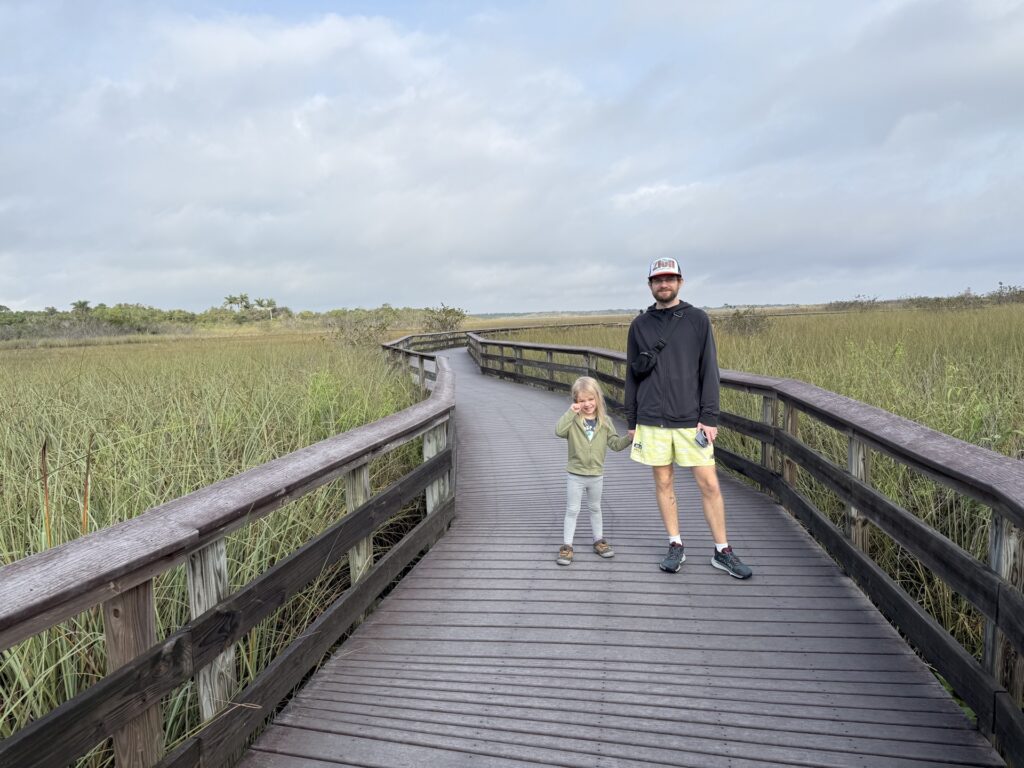
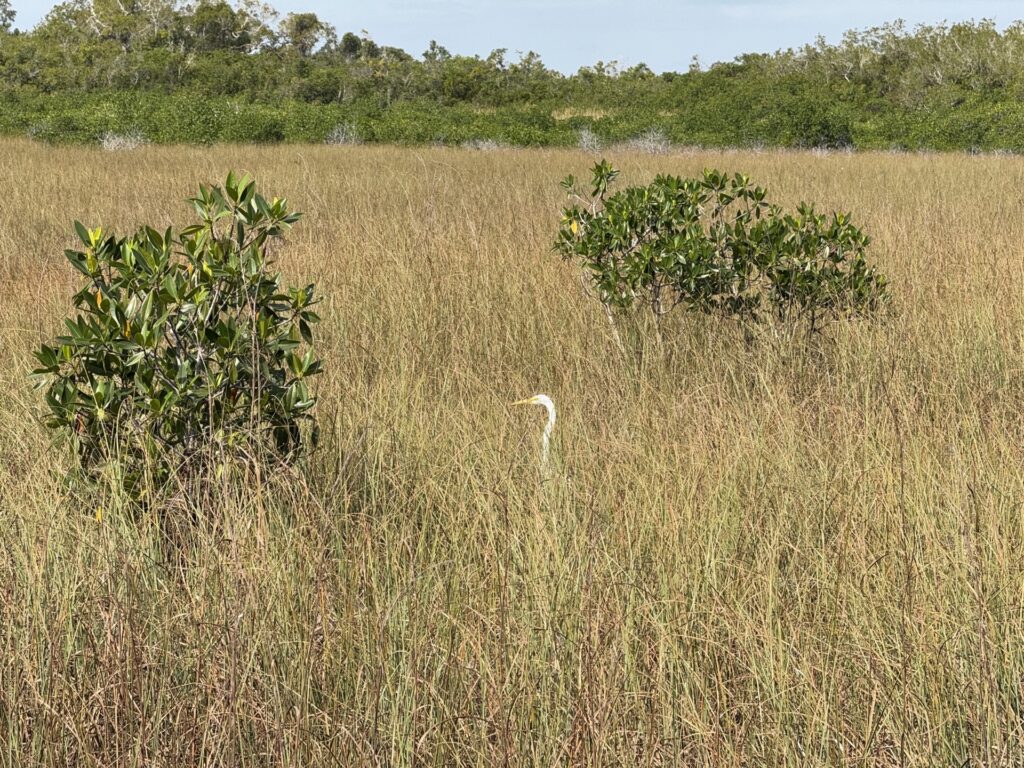
This short boardwalk trail offers endless views of a “sea of grass.” This particular landscape is home to an array of wildlife, but you’re most likely to spot birds like heron, egrets, or a barred owl if you’re lucky.
By now, you’ve probably noticed that each of these trails around the Everglades are all a little bit different. It’s easy to assume that the Everglades are all swamps and alligators, but there’s so much more to it. You can see and learn about so many different habitats, wildlife, and plant life by taking all these different, short hikes around the area.
Mahogany Hammock Trail
Distance: 0.5 miles
Surface: Boardwalk
Mahogany Hammock Trail is another boardwalk trail that leads you to a “tree island.” This area of dense vegetarian is a bit higher than the wetlands around it and forms an actual island oasis in the middle of the sea of grass. It’s pretty cool to see such a stark barrier between the vegetation.
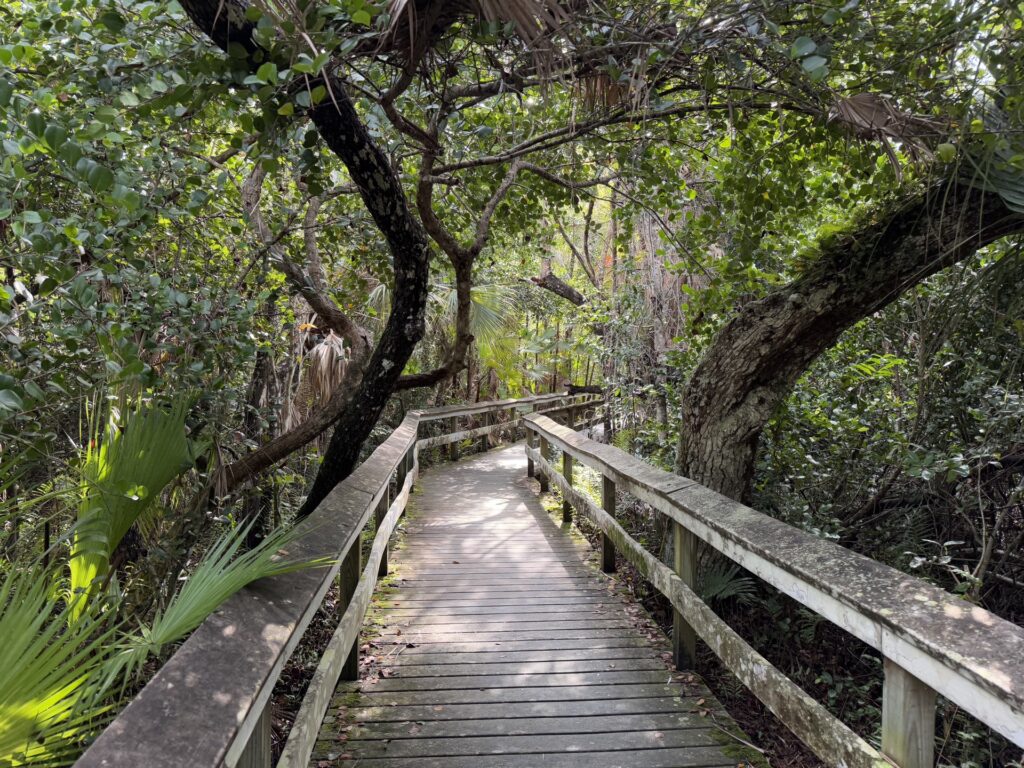
Most of the trail is through the tree island, which is dense with lush trees, ferns and air plants. There were lots of spiders and webs, which was cool but also worth noting if you’re squeamish about that. (There were no webs crossing the actual trail, at least.) We enjoyed spotting the tree snails and lizards, too. We didn’t see any owls, though.
Tip! This trail was the buggiest of all the trails. Be sure to wear bug spray for this one.
Another thing to look out for on this trail is the largest living Mahogany tree in the US. I have to say, I didn’t know this was a thing, and it didn’t reach out and grab my attention, so I’m not sure I noticed it specifically.
This was my second favorite trail in the park. It had a really interesting landscape, beautiful greenery, and I liked that it was a tad longer.
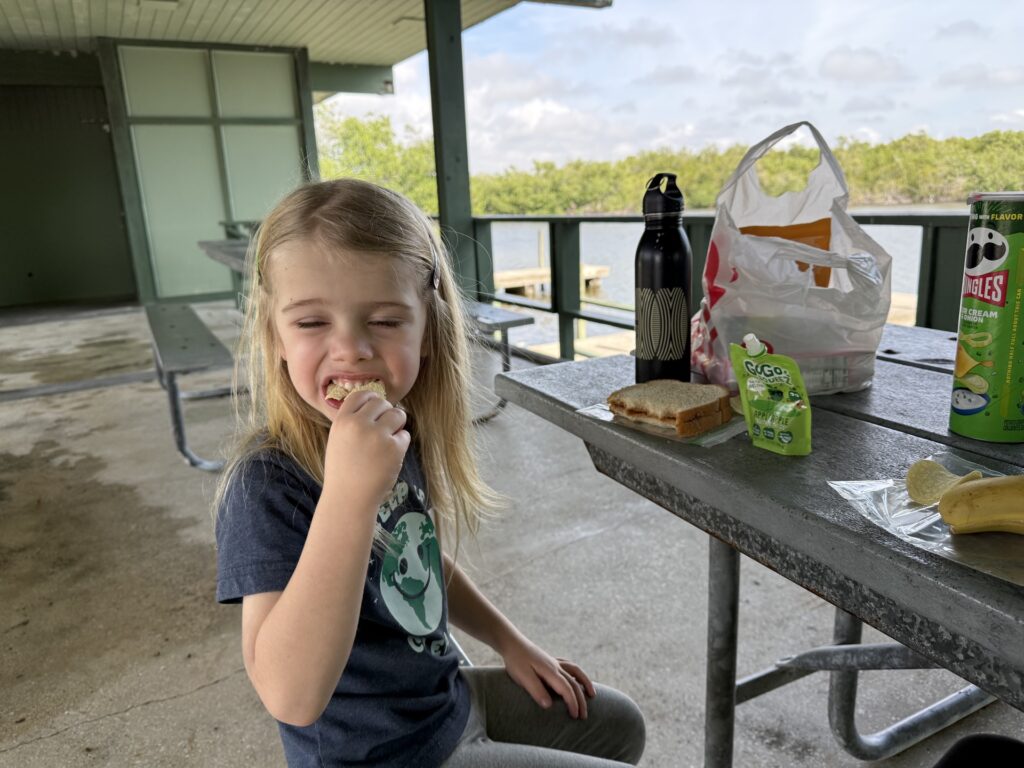
Picnic at West Lake
Hungry yet!?
If you start your day around 8 and hike these trails at a casual-to-moderate pace, you should be at West Lake sometime between 12 and 1 PM. It’s a perfect time and place to stop for lunch.
There are not very many dining options available inside the park. (As in there’s snacks and some sad sandwiches at the visitor centers and one restaurant at the Flamingo Lodge at the far south side.) It’s a good idea to bring your own lunch.
We went to Target the night before and grabbed a few snacks, drinks and PB&J fixings. If you have a cooler, you could also go the prepared food route, and pack some ready-made sandwiches or the like.
West Lake has several covered picnic tables and a nice view of the lake. The crows did hover a bit, but we didn’t feed them — don’t feed them! — and they left us alone. There is a trail head nearby, so this area tends to be pretty busy.
For a quieter option, you may opt for Paurotis Pond. It is a little bit before West Like. There is no trail nearby, so it tends to be a bit more secluded. It has a couple picnic tables, but they are not covered. You’ll pass it on the way to West Lake, so it might be worth taking a peak and seeing if you like it. If not, carry on to West Lake. (Paurotis Pond was a bit too windy during our visit, so we decided against it.)
West Lake Trail
Distance: 0.5 miles
Surface: Boardwalk
Just steps from the picnic area is the entrance to West Lake Trail. This trail showcases yet another ecosystem as we start to enter mangrove territory.
This trail winds through a mangrove forest, and then pops out and makes a loop over the lake. You really get a good view of the mangled trees and roots and how they makeup the shoreline.
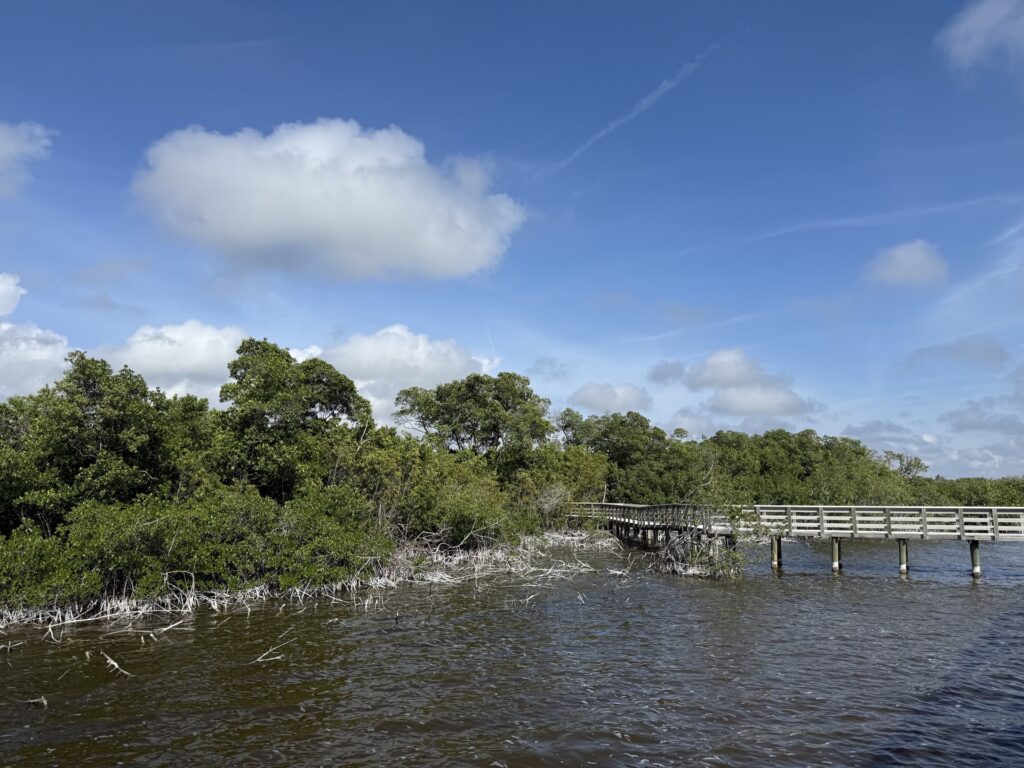
This trail also seemed like a popular place for fishing. I know nothing about fishing.
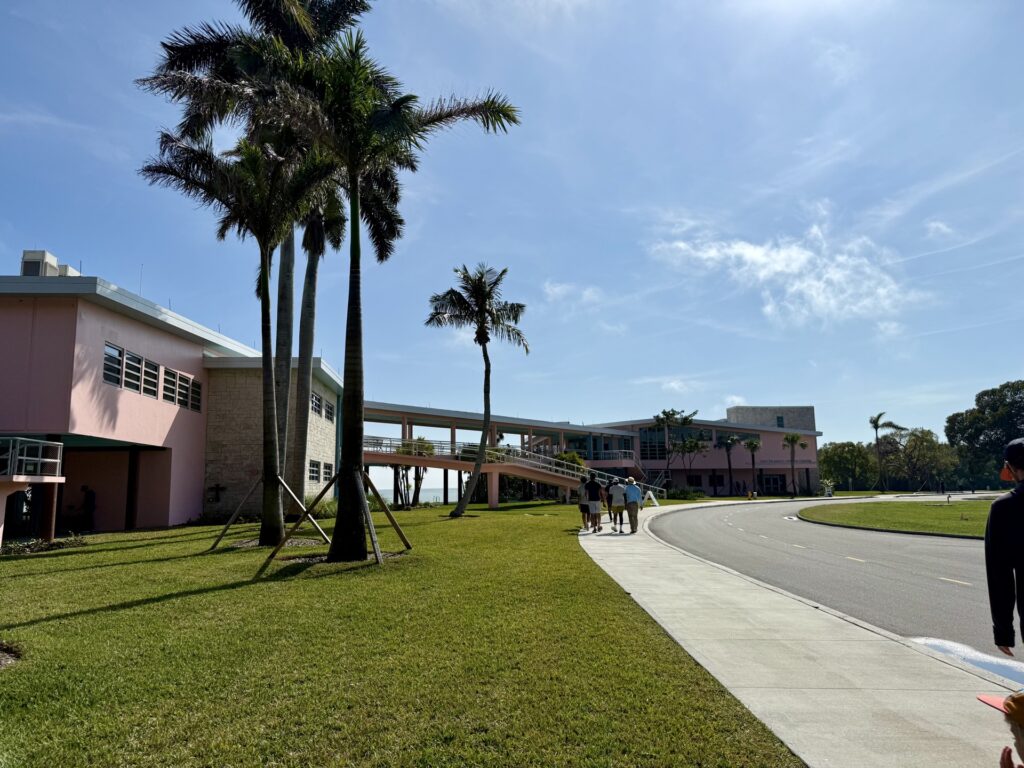
Guy Bradley Visitor Center
Opening Hours (subject to change): Summer (June 1 to October 31) — 9 AM to 5 PM Friday to Tuesday. (Closed Wednesday and Thursday.) // Winter (November 1 to May 31) — 8 AM to 5 PM daily.
It’s time to take a break from the trails and pop into another visitor center. Guy Bradley Visitor Center has a totally different vibe from Ernest F. Coe. This visitor center is unmistakably beach-y, with it’s raised pink structure and it’s ocean-front views. You can even watch the pelicans from the binoculars inside.
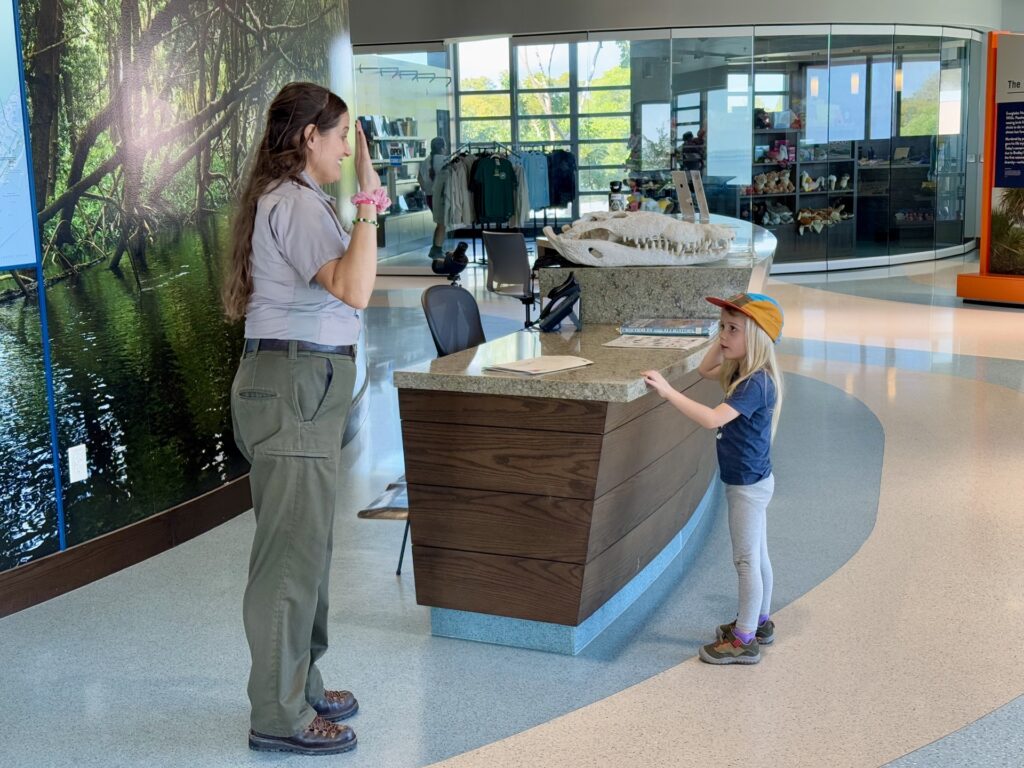
Inside, you’ll find many similar amenities though. There’s nice bathrooms, a small gift shop, and a ranger station. There’s also several exhibits where you can learn about the wildlife in this particular part of Everglades National Park, including manatees and crocodiles.
If you had a child working on their Junior Ranger book, check in at the Ranger Station to get your badge. (Just so you know, they really check your work!) It’s really cute, they really make the kids feel special and recite a pledge and everything.
Tip! If you want to spot manatees (and maaaybe a crocodile), walk over to the nearby Flamingo Marina. According to the Park Ranger, they like to hang out there. We spotted one right away, though we did think it was a rock until it came up for air.
Guy Bradley Trail
Distance: 0.5 mile (Out-and-back trail, so 1 mile total if you do the whole thing)
Surface: paved
This trail starts on the opposite side of the parking lot from the visitor center. It looks like it’d be a waterfront trail, but most of the shoreline is actually blocked by the mangrove trees. There are a handful of beach access points, but it doesn’t feel like a beach-front trail.
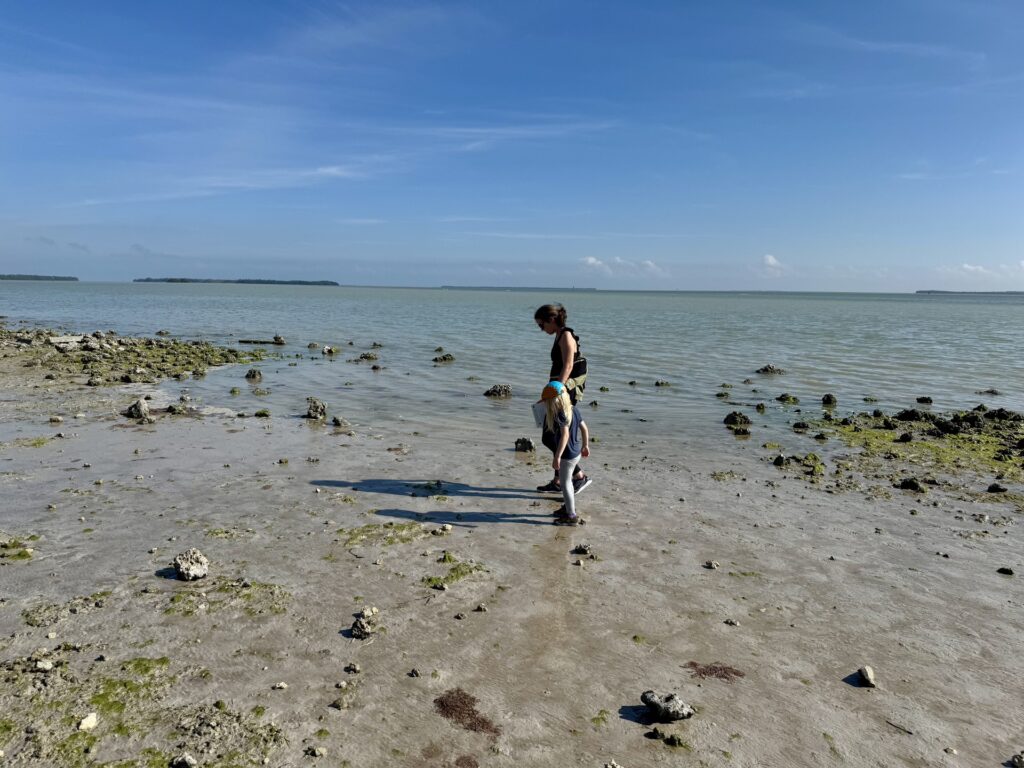
The trail ends at a small amphitheater on a rocky beach. It was fun to walk around the shallow water, look at some of the creatures and enjoy the salt air. The view isn’t as nice as the waterfront by the visitor center, but it’s still nice and also less crowded.
The only thing I didn’t like about this trail was that there were a lot of bikes. (It’s one of the few trails in the park where bikes are allowed.) The trail was narrow, so you really had to pay attention at all times. (Not ideal with a 4-year-old whose strong suit is not paying attention.)
Tip! Be sure to look to the skies on this trail! We spotted a bald eagle, which doesn’t seem uncommon in this area.
HM69 Nike Missile Base
If you’re visiting in the winter (December through March), check to see if the Nike Missile Base is open during your visit. The hours are tricky, and they’re usually only open a few days a week (usually weekends) for a few hours midday (10 AM to 2 PM ish).
If you happen to catch it when it’s open, it’s pretty cool to see. This is the former site of an operational missile base, and you can see 2 actual Nike Hercules missiles.

They offer guided tours, which seemed very detailed and informative. (I believe I heard that the tours usually last about 90 minutes.) If you don’t catch a tour or don’t want to commit to that, you can also take a self-guided walk around the site during open visitor hours.
If the timing works out in your day, this is worth stopping at. (During our visit, they were hosting a festival, so they were open a bit later.) It’s pretty cool to see the rockets up close and some of the other relics.
That said, you probably don’t need to go out of your way to fit it in. It’s a bit out of the way and it is a pretty big detour for a fairly short attraction. (Unless you do the tour, that’s much longer.)
Everglades National Park 1-Day Itinerary Summary & Map
To recap, here were the stops we made on this route.
- Ernest F. Coe Visitor Center
- Anhinga Trail
- Gumbo Limbo Trail
- Pinelands Trail
- Pa-hay-okee Trail
- Mahogany Hammock Trail
- Picnic at West Lake
- West Lake Trail
- Guy Bradley Visitor Center
- Guy Bradley Trail
- HM69 Nike Missile Base
And here’s a map that shows you exactly where each trail begins and all the other sites mentioned in this post.
How to use this map
- Click on the icon on the map to view its details.
- To view the map in Google Maps, click the expand icon on the top right corner.
- Click the star icon to save the map to your Google account for later. To access the map next time, open Google Maps > click the Saved tab > click Maps.
Tips for Visiting Everglades National Park
- Start early. If you follow this itinerary, try to arrive at the first visitor center at approximately 8 AM. The visitor center will just be opening when you get there, you’ll get to a good picnic spot right in time for lunch, and you’ll leave the park by about 4 or 4:30 PM.
- Pack bug spray. The bugs are much more tolerable in the dry season (winter), but they’re still around. Be sure to put on bugspray before heading out on these hikes.
- Follow the crowds. If you see people gathered in one place, they’re often looking at something cool! I totally would have missed a lurking alligator if I didn’t stop where a couple was stopped and looked where they were looking.
- Bring a lunch. There’s not a lot of food in the park, so bring your own lunch, snacks and drinks.
- Read the signs. At face value, a lot of these trails don’t seem that cool. If you read a bit about what makes them unique, though, they become a lot more interesting.
- Look for wildlife. Most of these trails are short, so you won’t need to rush through them. Be sure to take a few minutes to look for wildlife, or you can easily walk by it and miss it.
- Pick up a Junior Ranger book (and actually do it!) The Junior Ranger program is targeted for kids 5-13 but anyone (even adults) can do it. You do have to actually completely the tasks in the books though, they will check your work.
- Stamp your badge. If you do earn a Junior Ranger badge, be sure to stamp it. Each visitor center has a stamp station, with a dated stamp for that park. These stamps fit perfectly on the back of the badge and make a cute keep sake.
Enjoy your visit at Everglades National Park!
Dreaming of other National Parks?
Check out some of the other National Parks we’ve covered on Emjoyable Explores.

Leave a Reply