The London Underground is the metro train system in London that runs — you guessed it — underground. It is usually the cheapest and fastest way to get between two places in London. If you’re not from a city with an elaborate train system (re: NYC or Tokyo) it might seem a bit overwhelming or hard to navigate. Fear not.
In this post, we’ll explain exactly how to ride the London Underground. We’ll start by explaining the London Underground system as a whole, move into details about operating times and pricing, and then put all that together with exact instructions for riding the Tube in five simple steps. And of course we added some bonus tips for good measure.
By the time you finish reading this, you’ll be ready to confidently take the Underground anywhere in London. Let’s get started!
In this post
Here’s what we’re covering in this post. Read the full guide or jump ahead to the section you’re most interested in.
- Introduction to the London Underground
- London Underground lines, stations & map
- Operating times
- Ticket types, prices & payment methods
- How to use the London Underground in 5 simple steps
- 10 Tips for taking the London Underground
Introduction to the London Underground
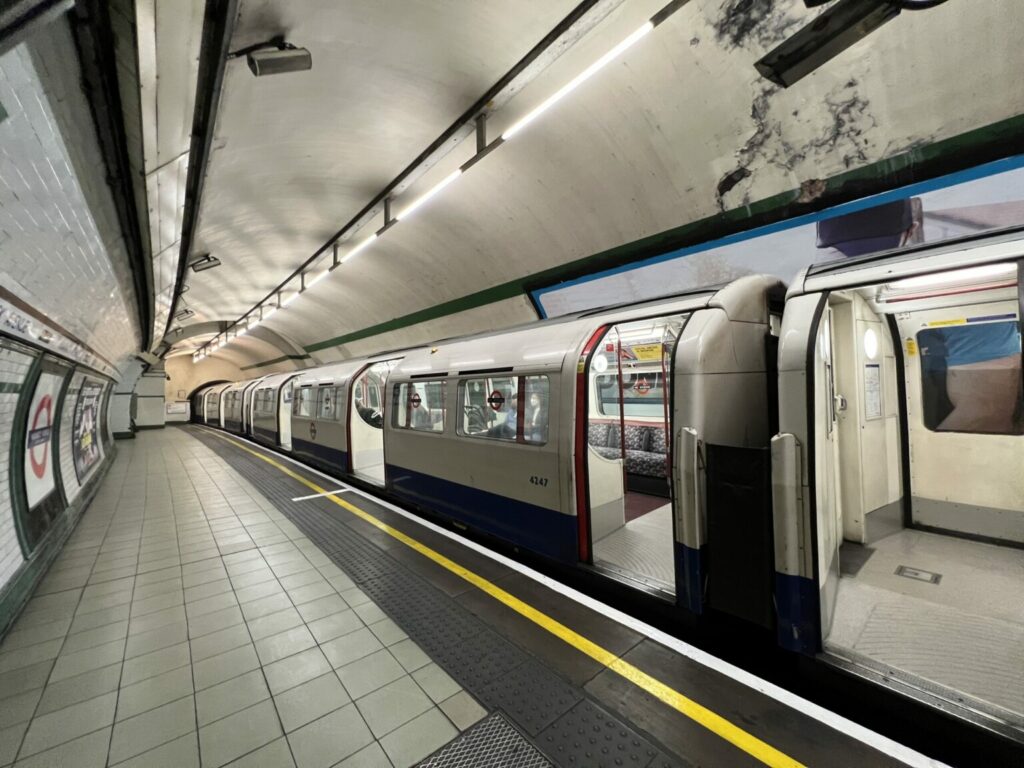
The London Underground, nicknamed the Tube for the tube-like tunnels that the trains run through, was the world’s first underground train system. It opened in 1863 with a single line as a way to reduce street congestion, and it continues to expand to this day.
Today, the Underground connects Greater London by way of 11 lines that move among between 272 stations. Up to 2 million people ride the London Underground everyday, making it one of the busiest metro systems in the world.
With 250 miles of track, it’s also one of the longest metros in the world. The London Underground is most densely concentrated in Central London, but it also serves regions outside of London proper, mostly north of the Thames.
The London Underground is just one part of the greater London transportation system, operated by Transport for London. There are also London Overground trains, buses, river buses, trams and more.
London Underground lines, stations & map
The London Underground is a thorough and elaborate web of train lines. While navigating the complex system may seem intimidating, you don’t need to know the whole map by heart. In this section, we’ll explain the different components of the system as a whole, but you don’t need to remember all of it. When you’re actually traveling, you’ll only need to know the details for your specific trip, which is much simpler.
London Underground Lines
Each route, or line, is named and represented by a specific color. These are the 11 London Underground lines in operation today.
- Bakerloo (brown)
- Central (red)
- Circle (yellow)
- District (green)
- Hammersmith & City (pink)
- Jubilee (grey)
- Metropolitan (magenta)
- Northern (black)
- Piccadilly (dark blue)
- Victoria (light blue)
- Waterloo & City (turquoise)
Note: This list intentionally excludes the Elizabeth line, which is not technically a London Underground line even though it runs partially on underground tracks.
Trains operate on each of these lines in at least two directions. The direction of the train is indicated by the final destination. Some routes going the same general direction may separate at some point and have two different final destinations, so be sure to look for that.
London Underground Stations
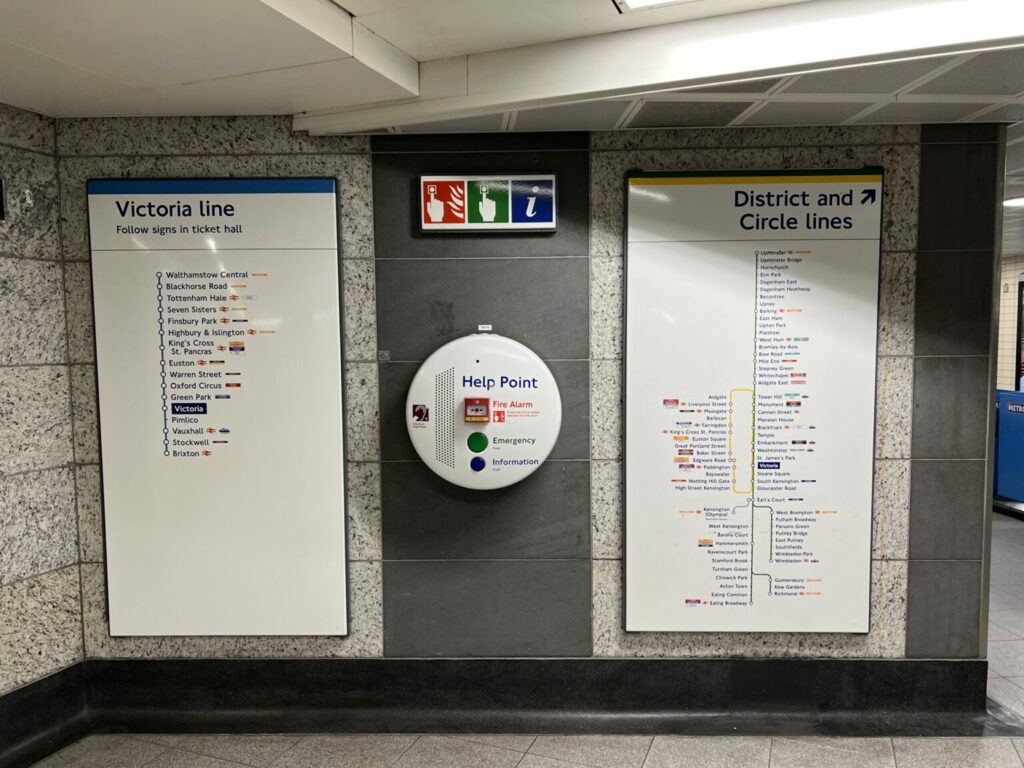
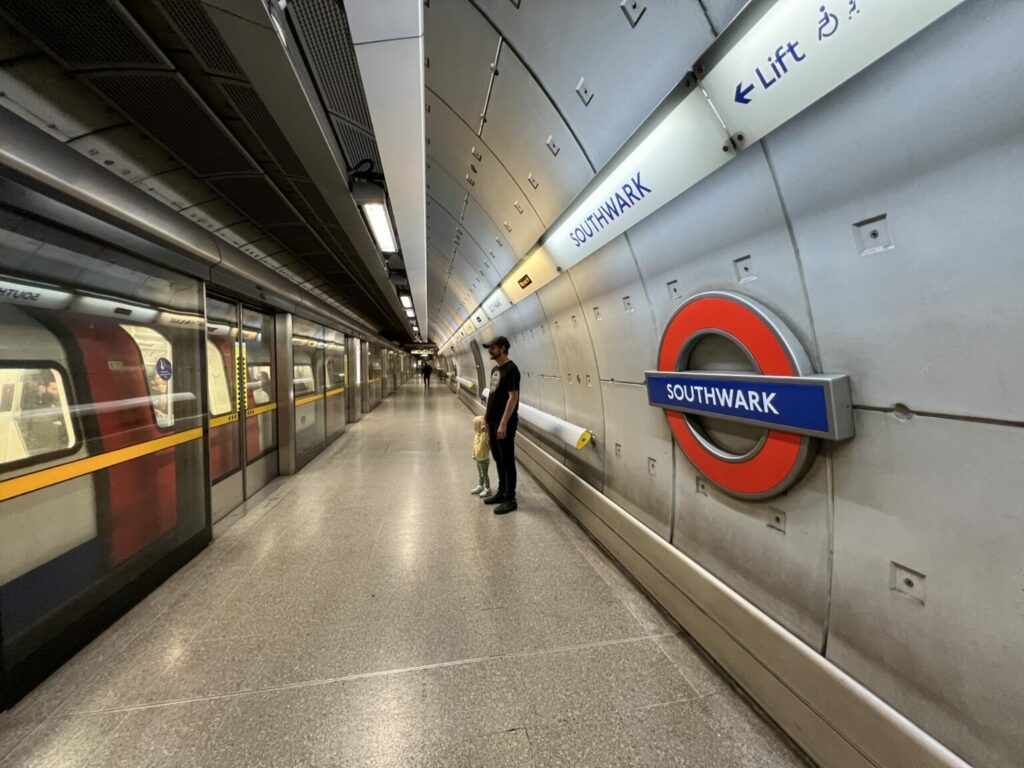
The London Underground currently operates between 272 stations. Some stations are small, with only a single platform serving a single line. Other stations are massive, with many different platforms across multiple levels and some of the longest escalators you’ll see in your life.
London Underground stations can be really far underground. Most stations are equipped with a combination of stairs, escalators and/or lifts (elevators), but not all of them. About one third of London Underground stations allow for a “step-free” journey. If you have mobility concerns, be sure to review the accessibility information on the Transport for London website.
Stations often have multiple entrances, usually on each corner of an intersection or at different ends of the train. London Underground stations can be identified by the red and blue London Underground icon which will be visible from the entrance.
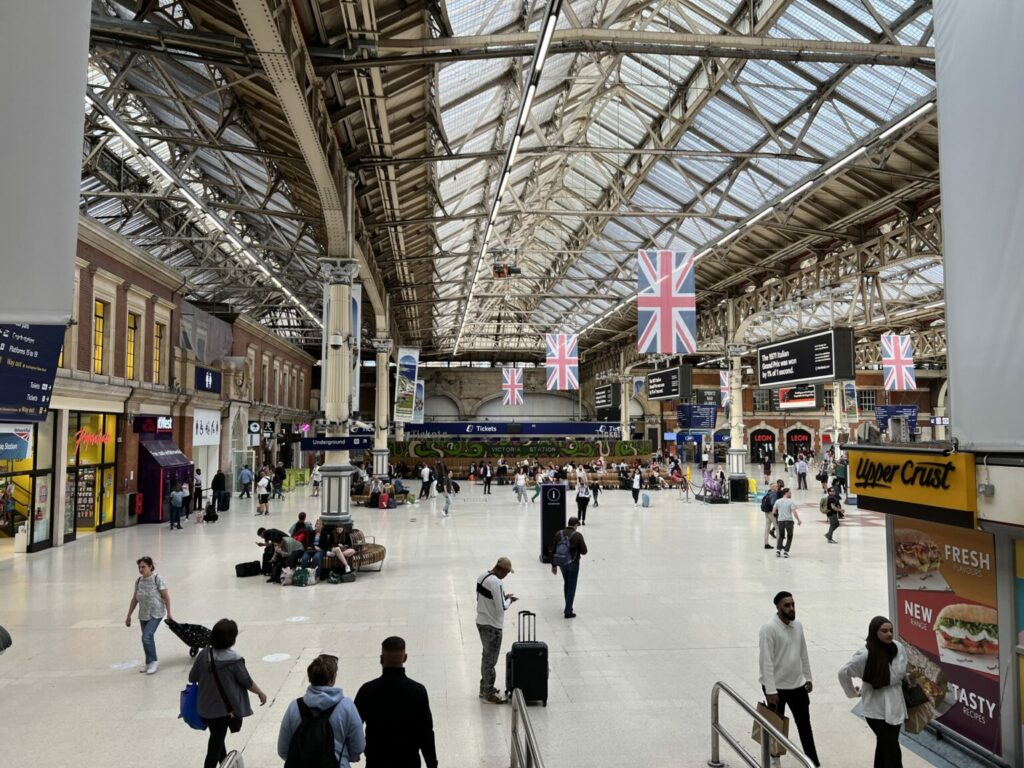
Not all stations are created equally. Some of the larger Underground stations, like Victoria or Waterloo stations, have bathrooms, restaurants and stores. This is typically only in stations that serve as connection hubs with other Underground lines or other types of trains. At smaller stations, you should just expect a ticket machine and maybe a vending machine at best.
London Underground Map
The London Underground covers London proper and Greater London. A bulk of the London Underground system is north of the Thames. In fact, there are only 29 stations (of the 272) that are located south of the river.
The system is separated into 9 zones that start in Central London with Zone 1 and expand outward. The zones are used for pricing purposes and transit to further zones or across multiple zones is more expensive.
You can view and download the most current London Underground map online here.
Operating times
The London Underground does not run 24 hours. The Tube operates from roughly 5:30 AM to midnight, Monday through Saturday, with limited service on Sundays. Each line has a different first and last train schedule, which you can view here.
There is also Night Tube service on some lines (currently Central, Jubilee, Northern, Piccadilly and Victoria) that runs 24 hours on Fridays and Saturdays.
Peak hours on the London Underground are 6:30 to 9:30 AM and 4 to 7 PM on Monday through Friday (public holidays excluded). During these hours, the trains are most crowded and run most frequently. They’re also more expensive.
Paying to ride the London Underground
The London Underground is one of the cheapest ways to get around London, and it’s definitely the fastest. In this section we’ll break down the different ticket options, prices and payment methods for riding the London Underground.
Ticket options
There are three main ticketing options for riding the London Underground.
- Pay as you go. Simply tap your payment method on your way into one station and out at another. The system will calculate and charge the correct fare for your journey.
- Point-to-point ticket. If you are taking a single trip from one station to another, you can purchase a paper ticket for that exact fare.
- Unlimited Travelcard. Ride the London Underground anywhere, any time, as much as you like for the duration of your card. Travelcards are sold by the day, week, month or year.
Pay-as-you-go fares are capped with a max fare. Once you reach the max fare, you can continue to ride as frequently as you want without being charged more. The max fare is determined by the time you travel and which zones you move through. You can calculate max fares here, but it will never be more expensive than a Travelcard.
In some cases, the pay-as-you-go cap can actually be lower than the Travelcard. For example, an anytime single-day Travelcard costs £15.20 and is valid for zones 1-4. But if you’re only traveling in Zone 1 and 2, the single day anytime cap is only £8.50. (As of publication.)
For that reason, we recommend you pay as you go and let the system do the math for you.
Fares
Figuring out the exact fare for a London Underground trip is unnecessarily complicated. Prices vary based on how far you travel (which zones you move through) and the time of your travel (peak versus off-peak).
Generally speaking, though, a trip will cost between £2 and £4 per adult if you pay via credit card or Oyster card (more on that below.) Tickets purchased in cash can be as much as double the price, so try to avoid that. Children under 11 can ride the London Underground for free with a fare-paying adult.
Based on the complexity of the fare system, we suggest just paying as you go and taking advantage of the automatic fare caps.
Payment options
To pay for the London Underground, you can use any contactless credit card or an Oyster card. Simply tap the card at the turnstile when you enter one station and again when you exit.
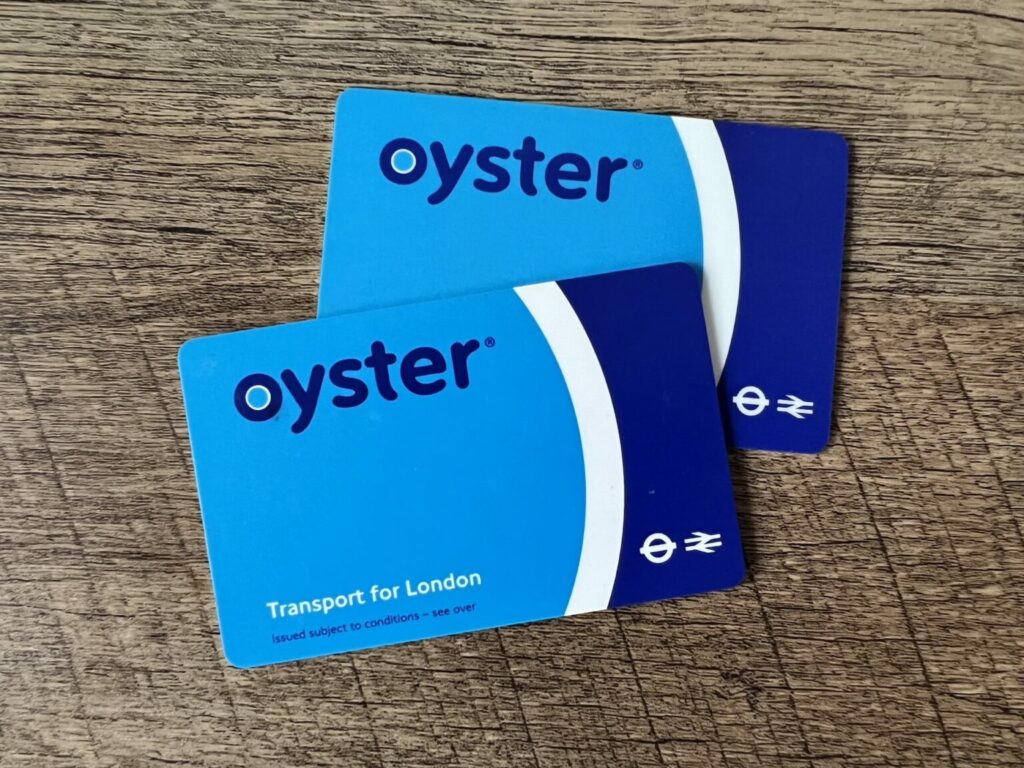
An Oyster card is London’s transit card that can be pre-loaded with funds and used on any of the city’s public transportation. You can purchase an Oyster card at any London Underground station or you can purchase a Visitor Oyster card online before your trip. However, you’ll need to pay an extra £5 for the card plus shipping in addition to the funds you want to load. Oyster card pay-as-you-go fares are slightly lower and also have a fare cap.
If you’re buying a point-to-point ticket or a Travelcard, you can pay by credit card or cash (British pounds) at a ticket vending machine inside the station.
How to use the London Underground
Now it’s time to actually ride the Tube. In this section we’ll explain exactly how to use the London Underground to get around London. We’ve broken it down to these five steps.
- Enter a London Underground station.
- Tap your payment method on the card reader and go through the turnstile.
- Find the platform for the right train going the right direction. (This is the trickiest part!)
- Ride the train.
- Tap the same payment method on the card reader to exit through the turnstile at your destination.
1. Enter a London Underground station.
Start by finding the London Underground station nearest you. The easiest way to do that is to use Google Maps and search “London Underground station” or look up the exact directions for where you need to go.
At smaller stations, you’ll be able to quickly identify a single set of turnstiles to head toward the train platform. At larger stations, you may first need to follow signs to the London Underground (if other trains are served at that station) and/or the specific train line that you need.

2. Tap your payment method on the card reader and go through the turnstile.
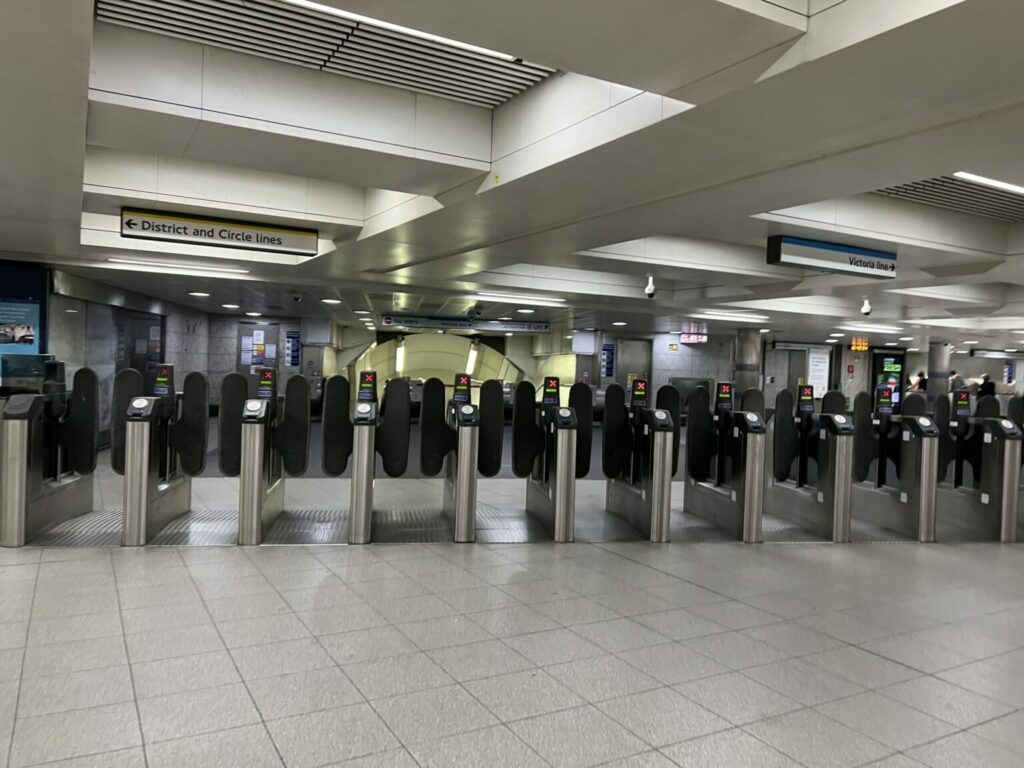
There will be a yellow card reader near each turnstile. Tap your contactless credit card or Oyster card onto the card reader and proceed through the turnstiles.
Since the turnstiles are used for both entry and exit, some busier stations will have red and green lights indicting which ones to use in which direction. Only tap at a turnstile that has a green arrow.
Keep your payment method handy for later (but don’t lose it).
3. Find the platform for the right train going the right direction.
Next you’ll need to find the platform for the train you wish to ride, going in the direction you wish to go. There will be large signs in all stations that will help with finding the right platform.
It’s helpful to know the final destination for the train in the direction you’re going, as trains are labeled by line and destination. If you don’t know for sure, there is usually a sign by the platform that lists the next stops for each direction of travel. Verify that your stop is listed on the train going in that direction.
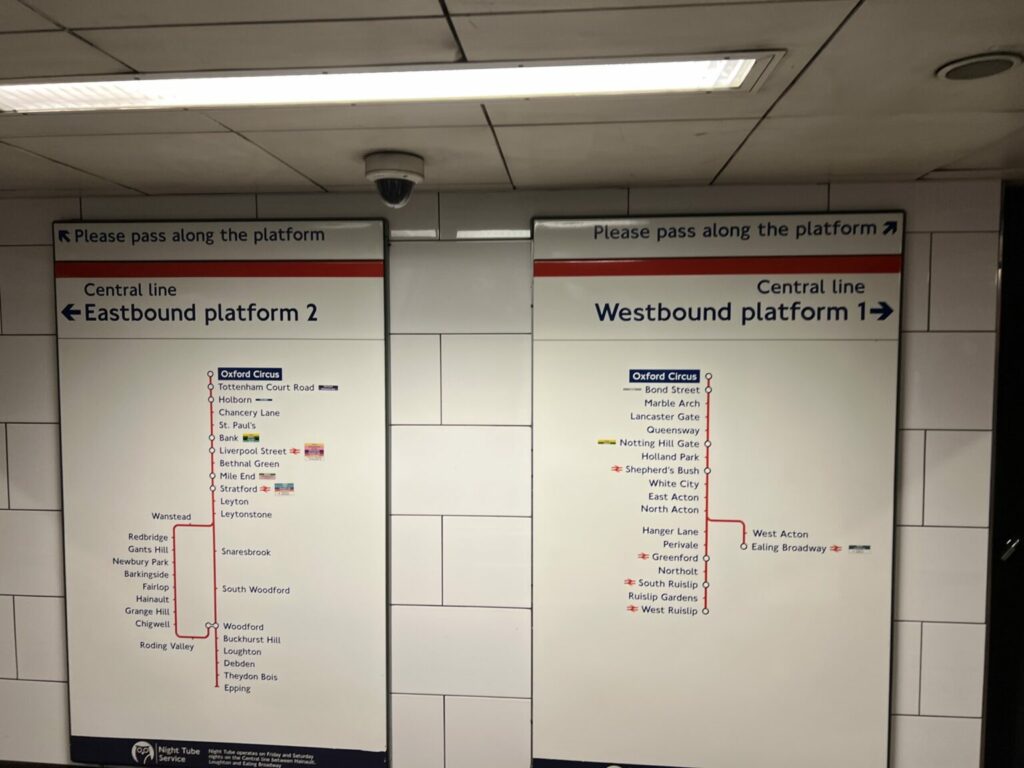
NOTE: Some train lines going the same direction will split at some point and have two different final destinations. In this case, check if your stop is before or after that split. If it’s before you can take either train, but if it’s after the split you’ll need to board the train with the right final destination.
4. Ride the train.
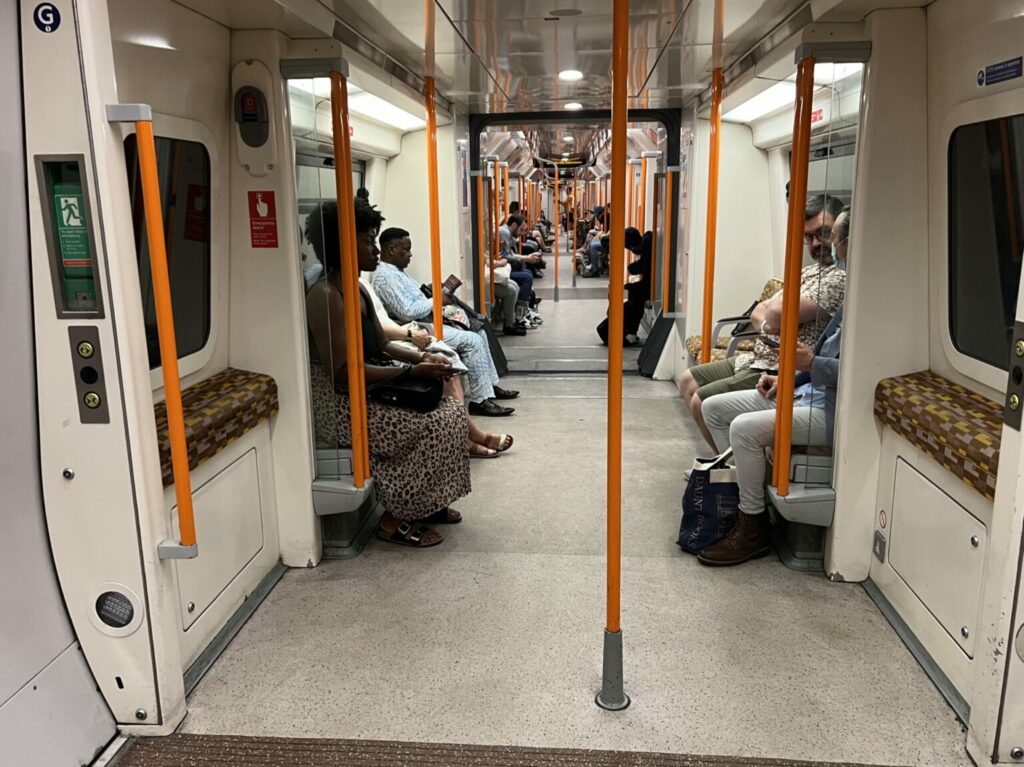
When the train arrives and comes to a stop, the doors will open automatically. Quickly and safely board the train. Step all the way inside and move to the center of the train car, especially if it’s crowded. Doors will close automatically.
Ride the train to your intended destination. Stops will be announced over the train speaker. They are also displayed on the walls of each station which you can see as you approach and stop at each station.
Exit the train swiftly and safely. Follow signs to the exit, which might require escalators, stairs and/or elevators. If there are multiple exists, they will be labeled by street and cardinal direction.
5. Tap the same payment method on the card reader to exit through the turnstile.
Before you exit the station, you’ll need to pass through the turnstiles again. Use the same payment method that you used to tap in and tap out. Again, tap the yellow card reader before preceding through the turnstile. If you somehow lost that payment method, be that a paper ticket or your credit card, you will need to pay the maximum fare which can be double or triple your actual fare.
Be sure to use the same card and device in order for the correct fare to be charged and fare caps to be applied. For example, if you have the same credit card on your Apple Watch and your phone, you can’t tap in with your Apple Watch and tap out with your phone.
10 Tips for taking the London Underground
1. Mind the gap.
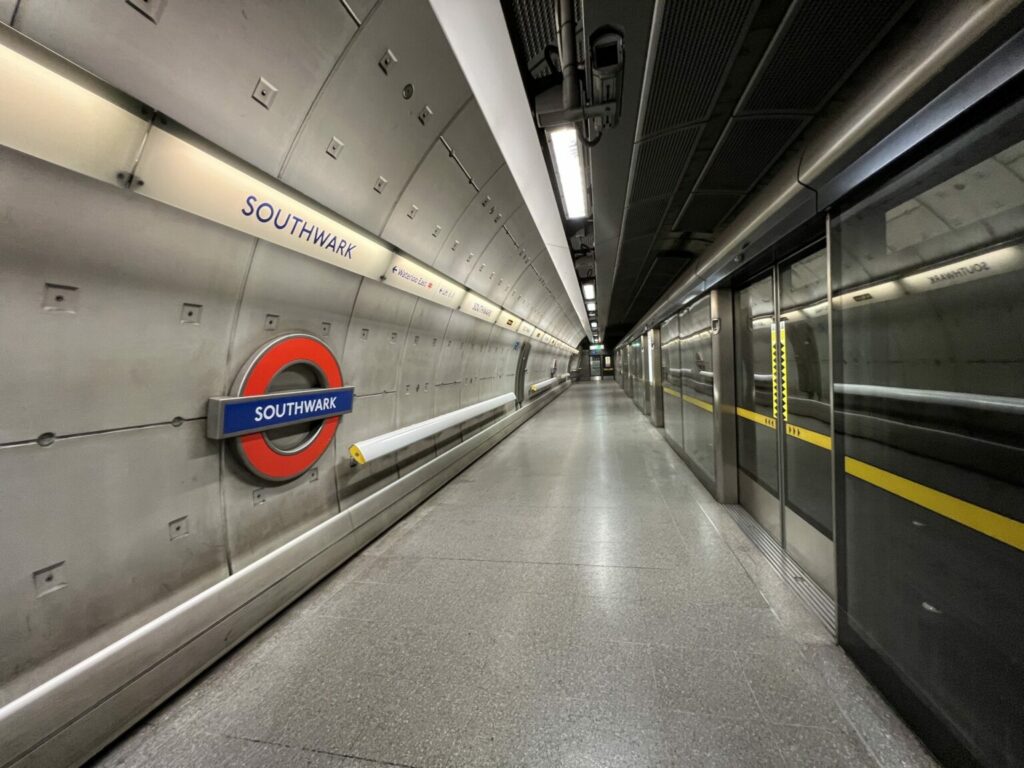
This is a bit of a trope, but the train announcements actually say it and it’s important. The gap between the train and the platform can be quite large, either as a gap or a step. Respect the gap and stay safe.
2. Don’t buy a Travelcard.
A Travelcard gives you unlimited train access, but you may not ride the train enough to make it worth it. With the zones and times, it’s really difficult to figure out in advance whether or not it’s worth it. With automatic fare caps, you don’t have to. If you pay as you go, you may pay less or worst case you pay the same as a Travelcard.
We also don’t think you need an Oyster card, but it does make a fun keepsake.
3. Have a plan if your party gets separated.
The train doors close pretty abruptly. There’s a small chance that your entire party doesn’t make it on or off the train together. This can be alarming if you don’t have cell service and can’t immediately text your group. This situation is rare, but it happened to us once and I’ve been nervous about it ever since.
Make sure everyone in your party knows what to do if it happens. A plan could be “the person on the train gets off at the next station and waits for rest of the party at the next stop” or “everyone just proceed to the destination separate and reconvene there.”
4. Don’t pay cash.
A single ticket on the London Underground will cost you almost 3x more if you pay in cash. We recommend having a contactless credit card and just pay as you go. It’s the cheapest, easiest option.
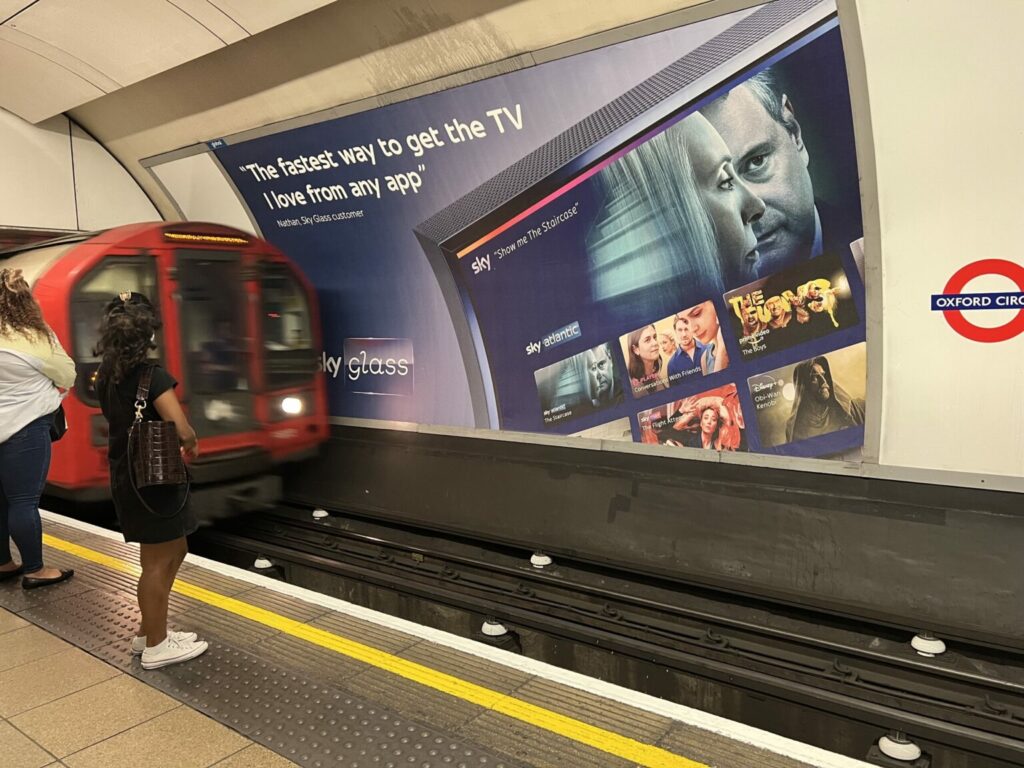
5. Stand clear of the tracks.
Always leave a few feet between you and the tracks, whether a train is approaching or not. This is basic train safety, but always a good reminder. A few newer stations have a glass wall and with sliding doors along the tracks for safety, but all will have at minimum a yellow line to stand behind.
6. Charge your device.
If you’re using a mobile payment method on your watch or phone, make sure that device has enough battery to make it the entire journey. If it dies and you have to pay with a different method, you’ll be charged the max fare.
7. Use the free Wi-Fi.
Most London Underground stations are equipped with free Wi-Fi. If you’re looking for directions and expect to need a train, pop into the nearest station and use the free Wi-Fi to look up transit instructions.
8. Exercise good train etiquette.
- Wait for people to get off the train before you get on.
- Proceed to the center of the train when you board, making room for everyone.
- Offer your seat to people who might need it more than you. (Londoners are very good at this!)
- If you have to eat or drink on the train, don’t make a mess or leave garbage.
- Etc, etc …
9. Keep your payment method handy.
If you come from a transit system that doesn’t require you to tap in and out of the train, it can be hard to remember. I have personally slammed into a locked turnstile without tapping more times than I care to admit. Keep your payment method handy so you aren’t fumbling.
10. Visit the London Transport Museum.
If you loved taking the London Underground, consider a visit to the London Transport Museum. You will learn a ton about the technology that has moved Londoners over the years. There’s also a few great kids play spaces and a fantastic gift shop where you can get your very own London Underground train to take home.

Enjoy your journey!


Leave a Reply