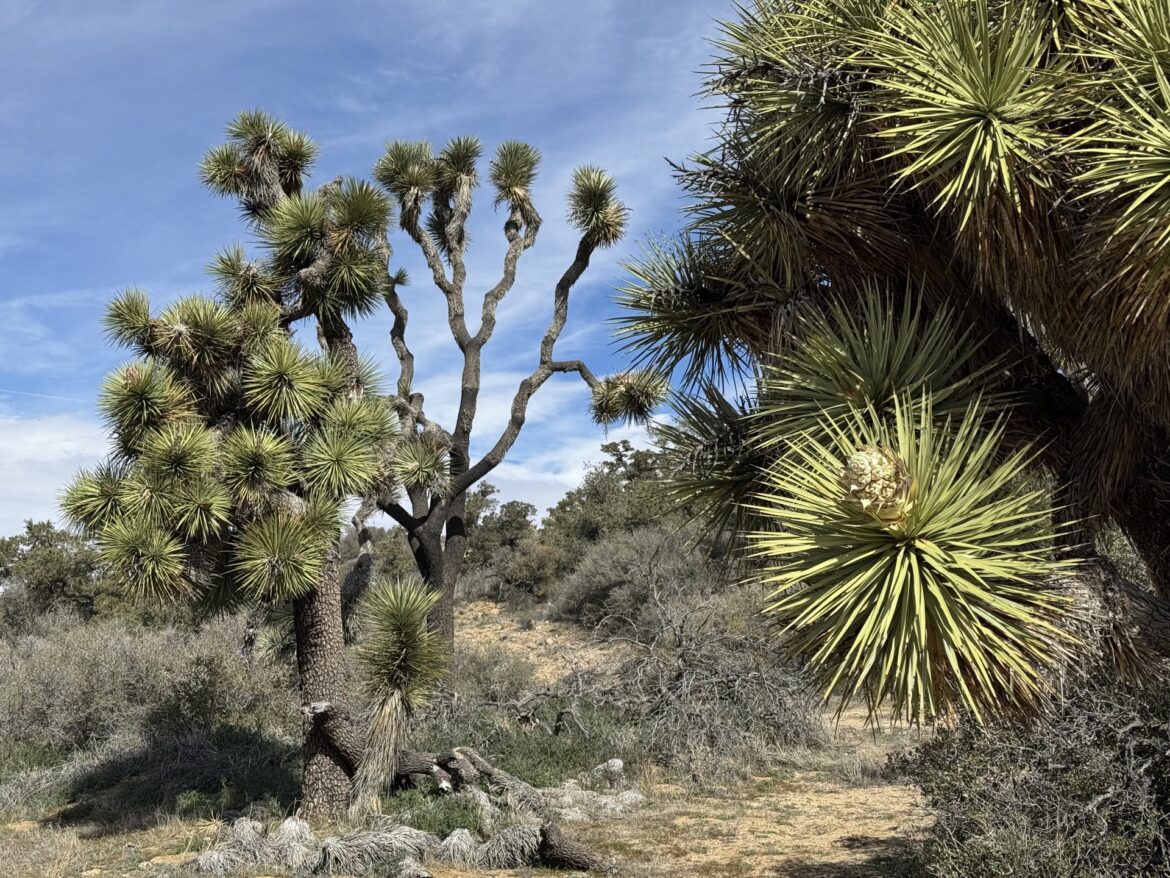
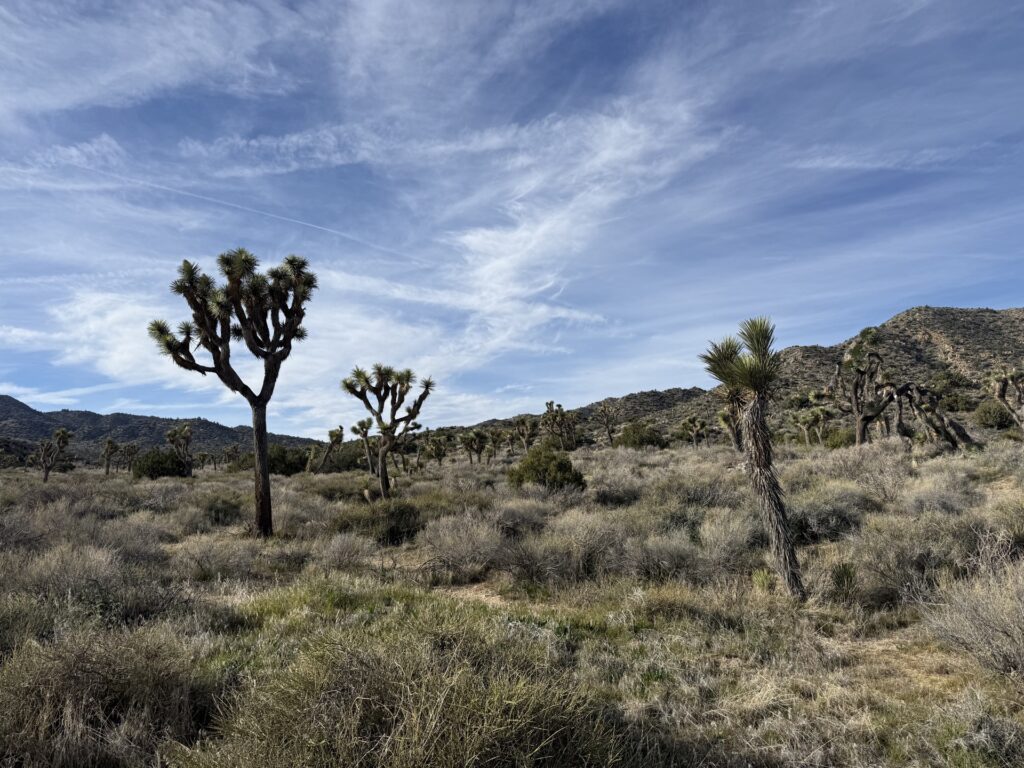
Joshua Tree National Park is famous for its eponymous trees, desert landscape and so-very-climbable boulders. Located 1 hour east of Palm Springs and a couple hours further from LA, it’s a popular weekend trip for California locals and domestic tourists alike.
In this post, we’re going to share how to fill a day at Joshua Tree. This itinerary includes a moderate hike, a few must-see sites, and exact locations for some of our favorite rocks to climb. It is great for families or adult travelers alike, and works most any time of year. (If you’re visiting in the summer though, be sure to bring extra water.) Like most National Parks and trips to California, this itinerary requires a car.
In this post, we’ll start with the detailed itinerary. At the end, we’ll circle back to things like “Is 1 day in Joshua Tree enough?” and “Where to stay near Joshua Tree?”
Keep reading for all the details on how to have a perfect day at Joshua Tree National Park.
Prepare for your Day at Joshua Tree
Before you start your day at Joshua Tree National Park, there are a few things you’ll need to do first.
First, you will need to be sure you have food and water. There are no food services available inside the park, and even water-refill stations are extremely limited. Pack your bag with lunch, snacks and lots of water.
There is a Walmart about 20 miles west of Twentynine Palms that you’ll drive past if you’re coming from LA. That’s a good place to pick up provisions. If you just need a prepared meal, there’s a Subway in Twentynine Palms, which also makes for good picnic fare.
Second, you might want to buy your entry pass. You can purchase a pass online in advance here. You can also buy a pass at the entrance, but that can end up taking extra time.
Lastly, dress accordingly. Joshua Tree is located in a desert (well, technically it spans two deserts). It is typically sunny, so sunscreen and a UPF outer layer is always good. Temperatures range drastically from day to night and across the seasons, so dress for your exact weather. Hiking shoes are nice, but sneakers with thick soles and good treads will do fine for anyone using this itinerary.
Now you’re ready to start your day.
Joshua Tree National Park Visitor Center
It’s always good to start your National Park day at the Visitor Center. The main Joshua Tree Visitor Center is located here in central Twentynine Palms, outside of the park gates.
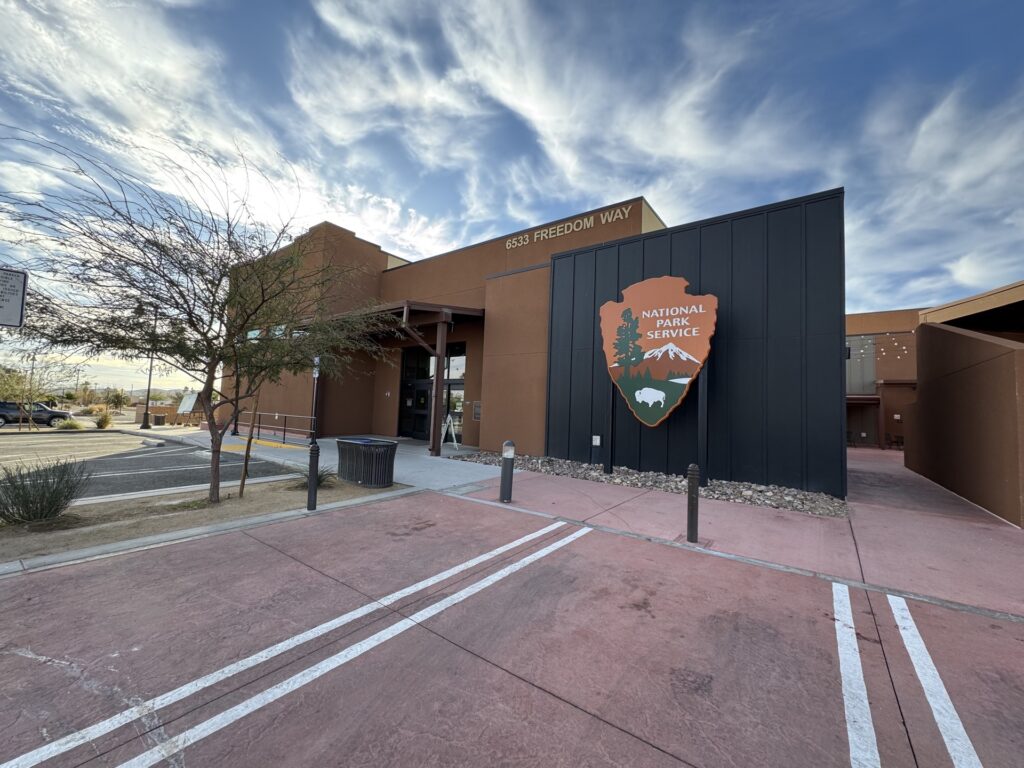
This visitor center opens daily at 8 AM, and this itinerary works best if you get there right around then. (Google Maps says it opens at 7:30 AM, but the NPS website and our personal experience confirm that is incorrect.) The visitor center has a museum/learning center, gift shop, water fill station, and bathrooms.
Note: The bathroom facilities inside the park are limited and the ones that are available are non-flushing vault toilets. Read: the visitor center is your last stop for nice bathrooms, so plan accordingly.
While you’re at the visitor center, be sure to pick up a free map. Cell service in the park is basically non-existent, so you’ll want to have a backup plan to find your way. If you have kids, be sure to pick up a Junior Ranger booklet, too They can work on it throughout the day.
Try to limit your time at the Visitor Center to under 30 minutes. You’ll want to get out on the trail sooner rather than later. There’s a good chance you have time to come back to the visitor center at the end of the day, too.
Panorama Loop Trail + (Optional) Warren Peak
- Distance: 6.5 or 8 miles
- Elevation: 1,200 or 1,700 feet
- Time: 3.5 or 4.5 hours
- Difficulty: Easy to Moderate
- Trailhead: Black Rock Nature Center
It takes about 20 minutes to drive from the visitor center to Black Rock Nature Center. There is no entry gate here, so it’s technically free to go to the park from here.
There is a parking lot for the trailhead just before you reach the nature center, plus a small amount of parking near the nature center itself and throughout the campground. Parking here can definitely fill up, so you want to try to get there early. We arrived at 8:30 AM (in February) and there were plenty of spots still available.
Panorama Loop Trail is one of the longer hikes in the park, and a popular pick for a day-hike. It’s a lollipop out-and-back trail that passes through a variety of landscapes with a payoff of sweeping views at the peak. If you have more energy and time, you can add a second peak, Warren Peak. This adds another 1.5 miles and about an hour to the hike.
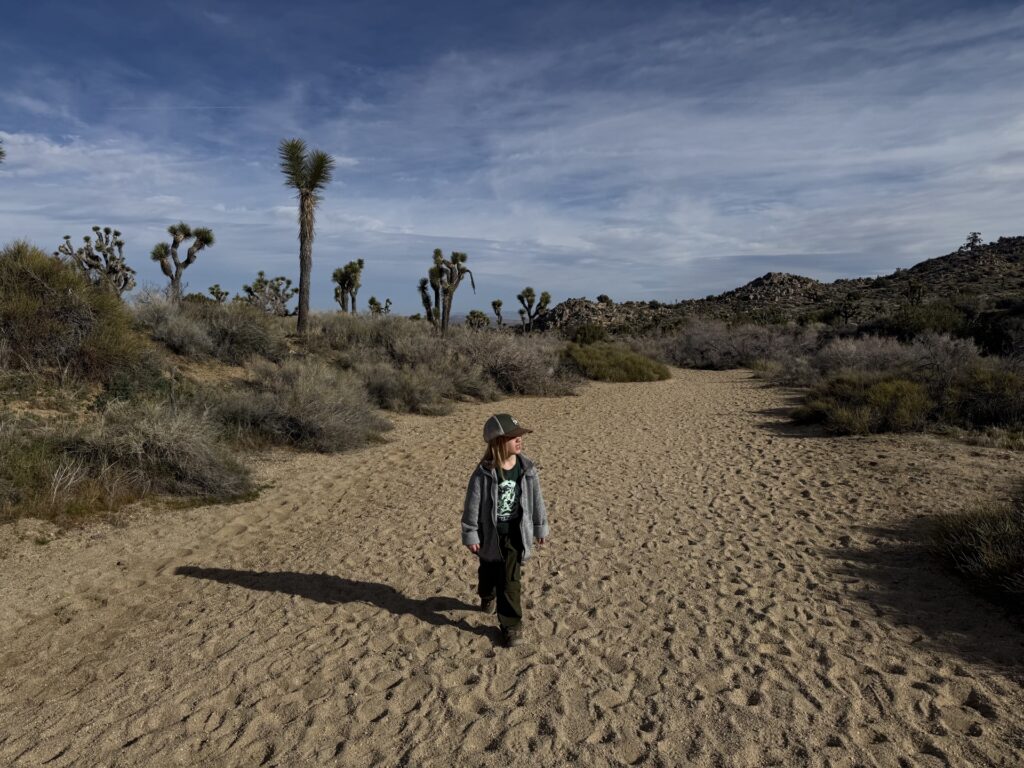
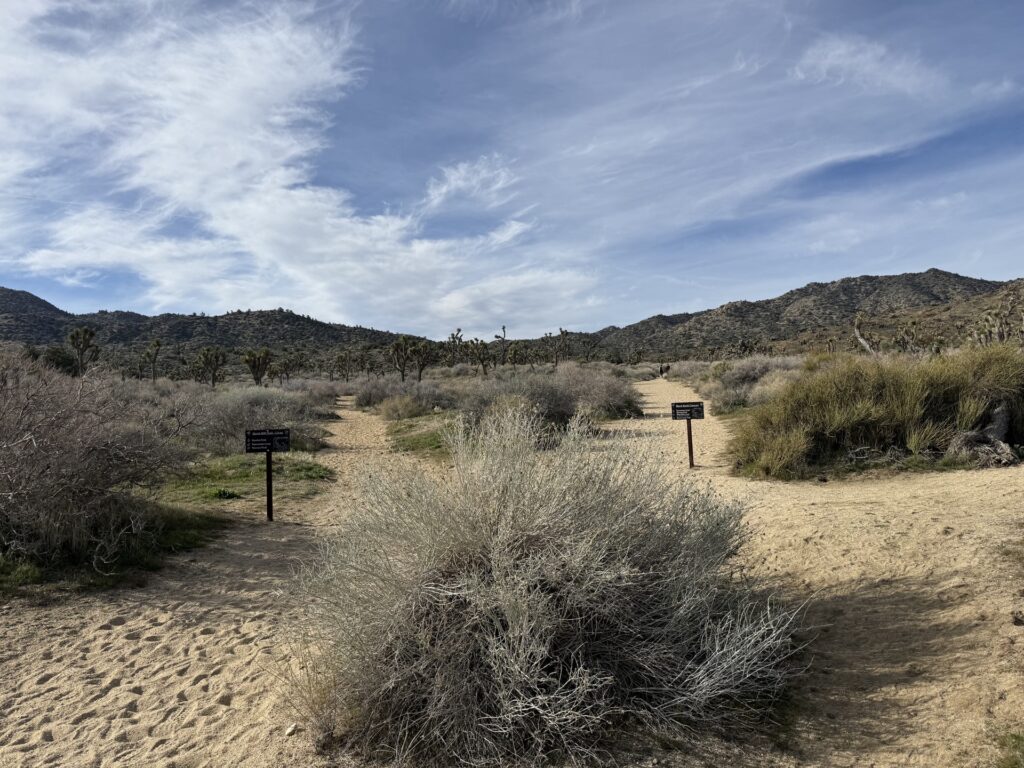
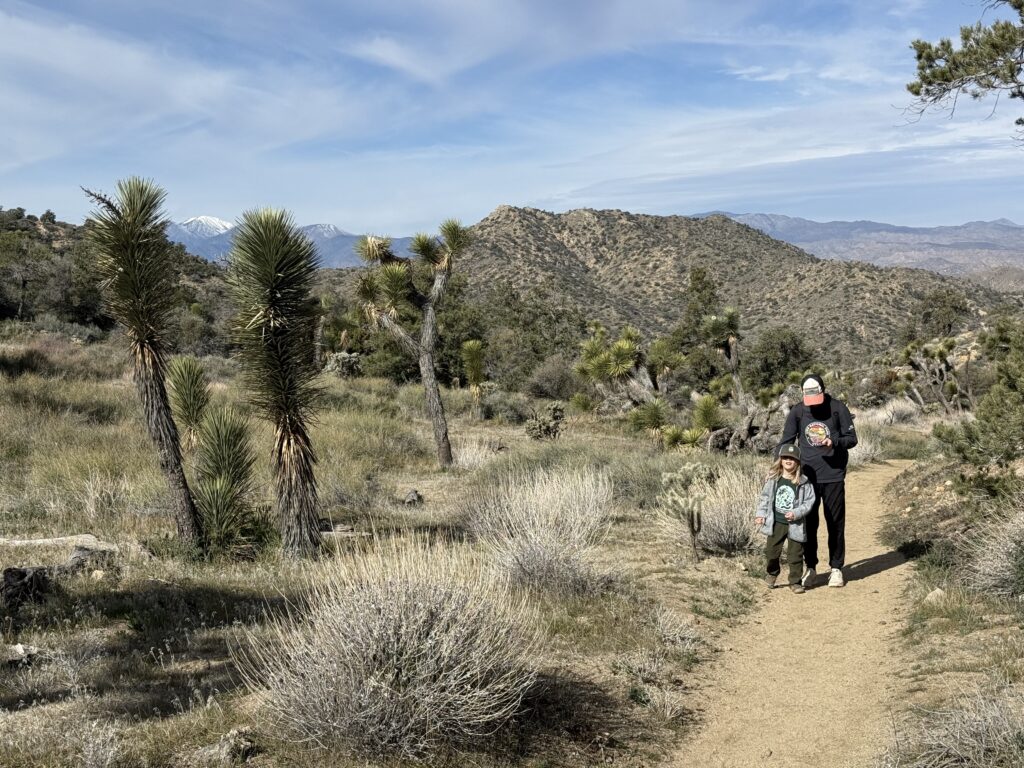
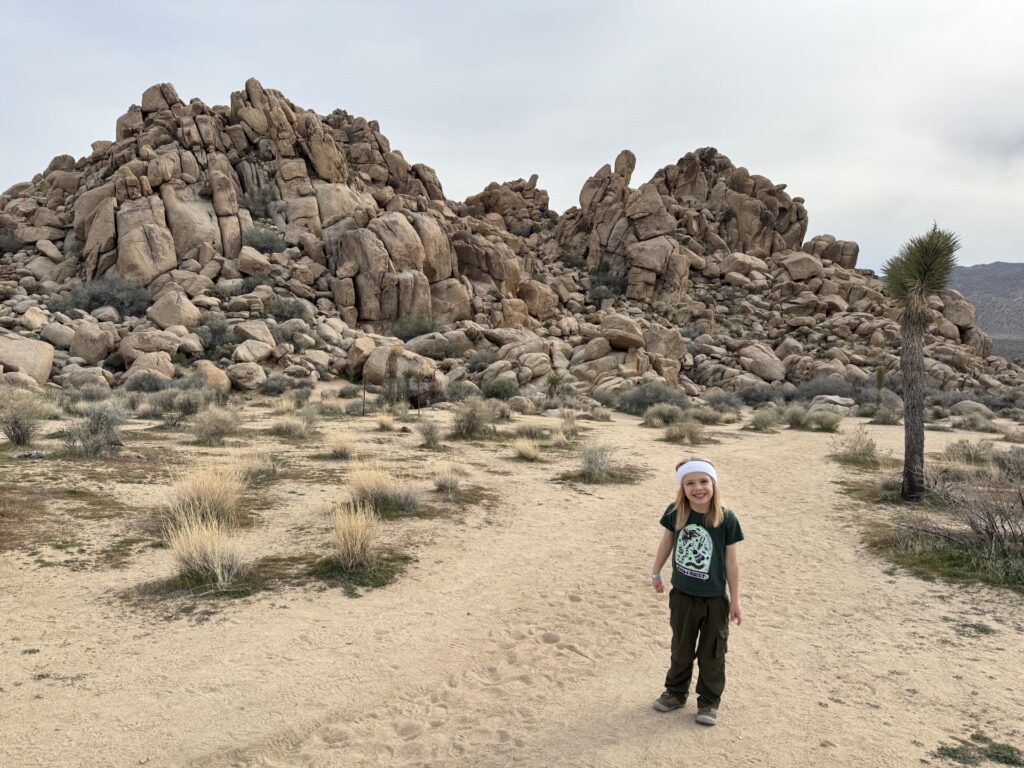
The hike starts near the Black Rock Nature Center parking lot — the trailhead is labeled Black Rock Canyon. The sand trail starts out flat through a vast landscape of Joshua Trees and desert plants. Pretty soon, the trail splits, and you’ll want to stay right and follow signs for Panorama Loop/Warren Peak.
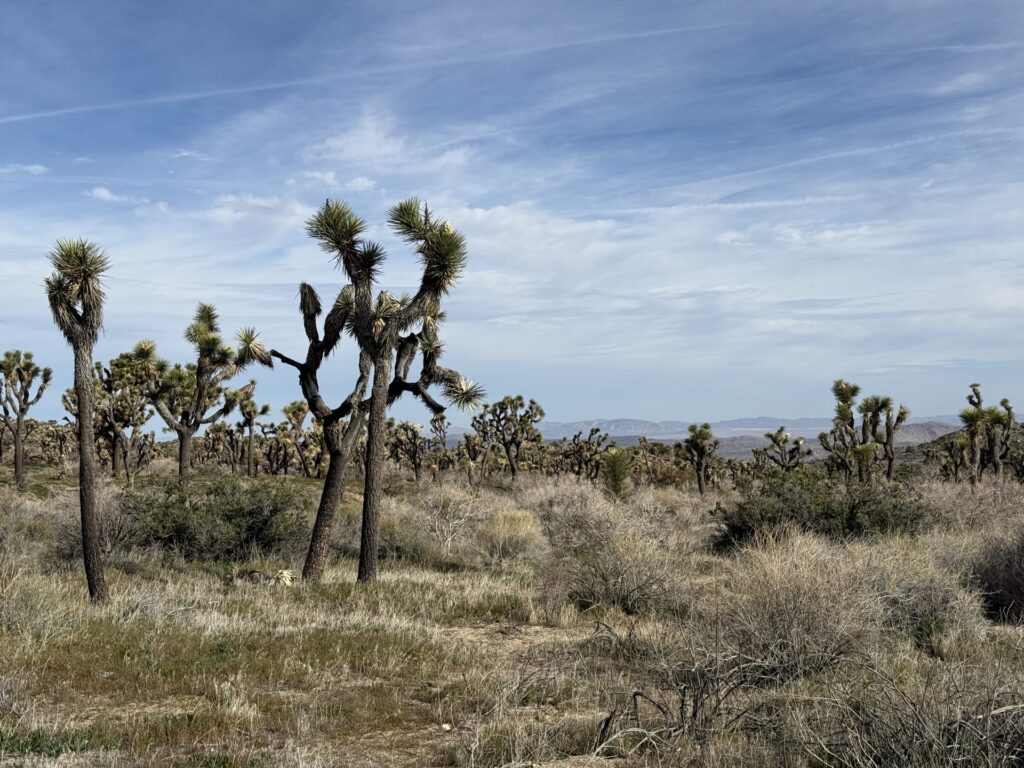
The terrain starts to change quite quickly after that from desert plains to dense Joshua Tree forest and on to mountainous woodlands. At about 1.8 miles, you’ll hit the split for the loop portion of the lollipop trail. You can do it in either direction, but if you’re considering adding Warren Peak, it’s best to go left (clockwise) first. That way, the option for Warren Peak comes after the main trail peak.
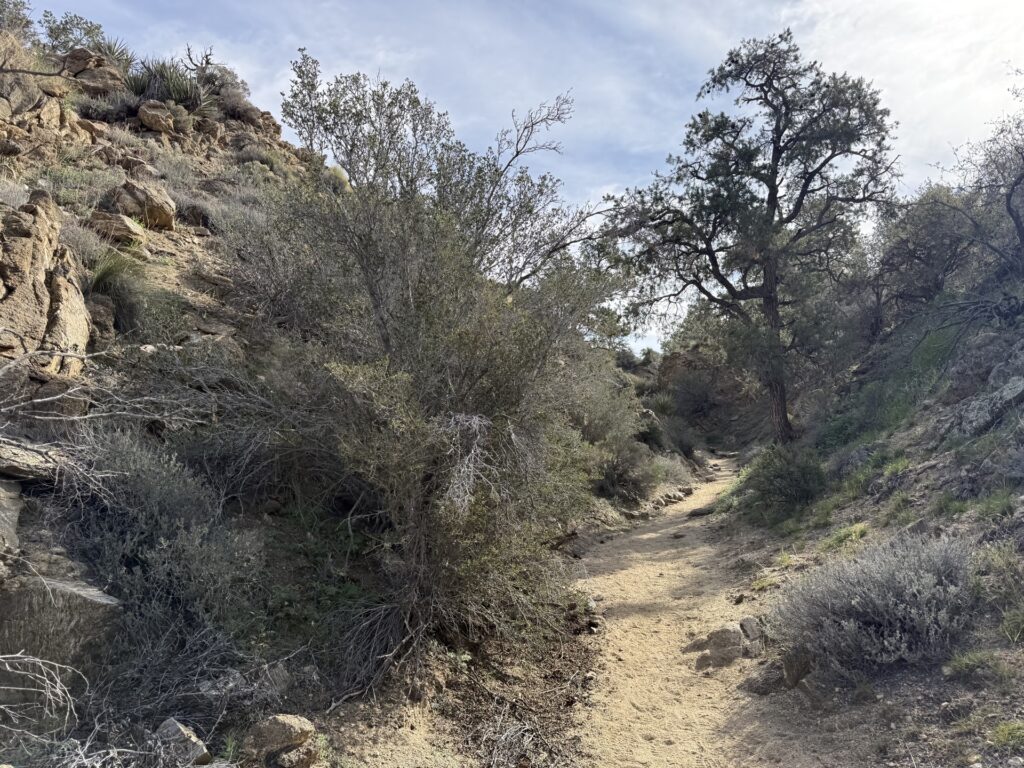
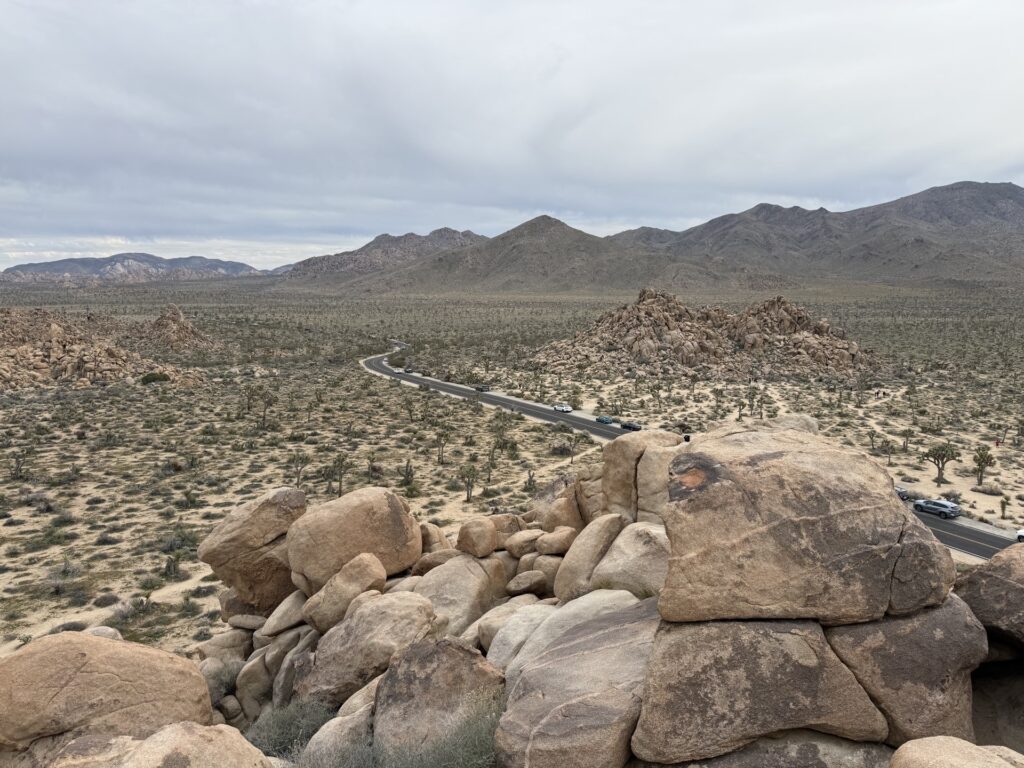
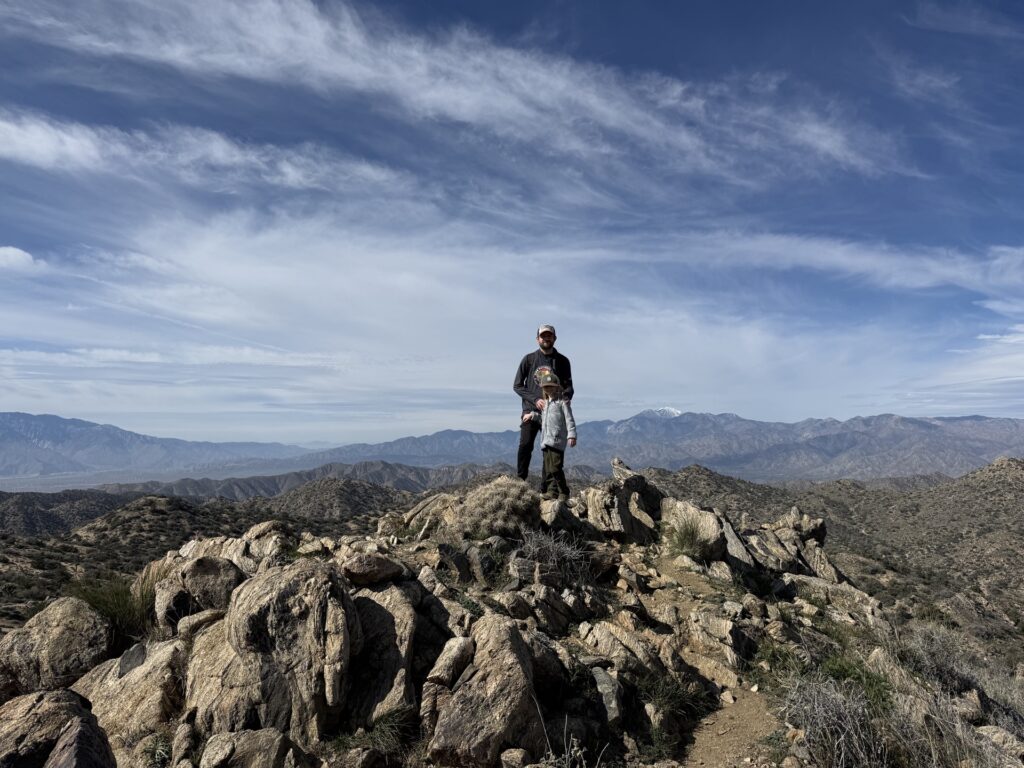
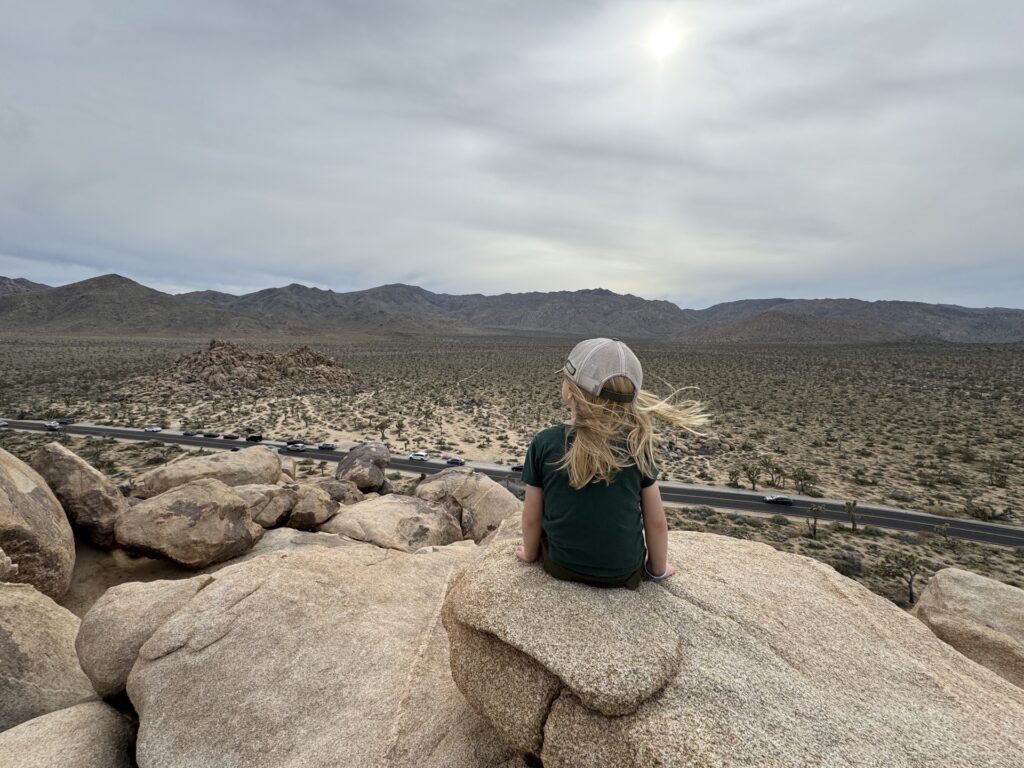
The trail is a gradual incline the whole way, but gets steeper as you approach the peak. After a few switchbacks, you’ll be rewarded with stunning views over the national park and beyond to the Little San Bernardino Mountains.
After the peak, the trail descends down the other side of the mountain. Around mile 4.4, the Panorama Trail meets up with the trail to Warren Peak.
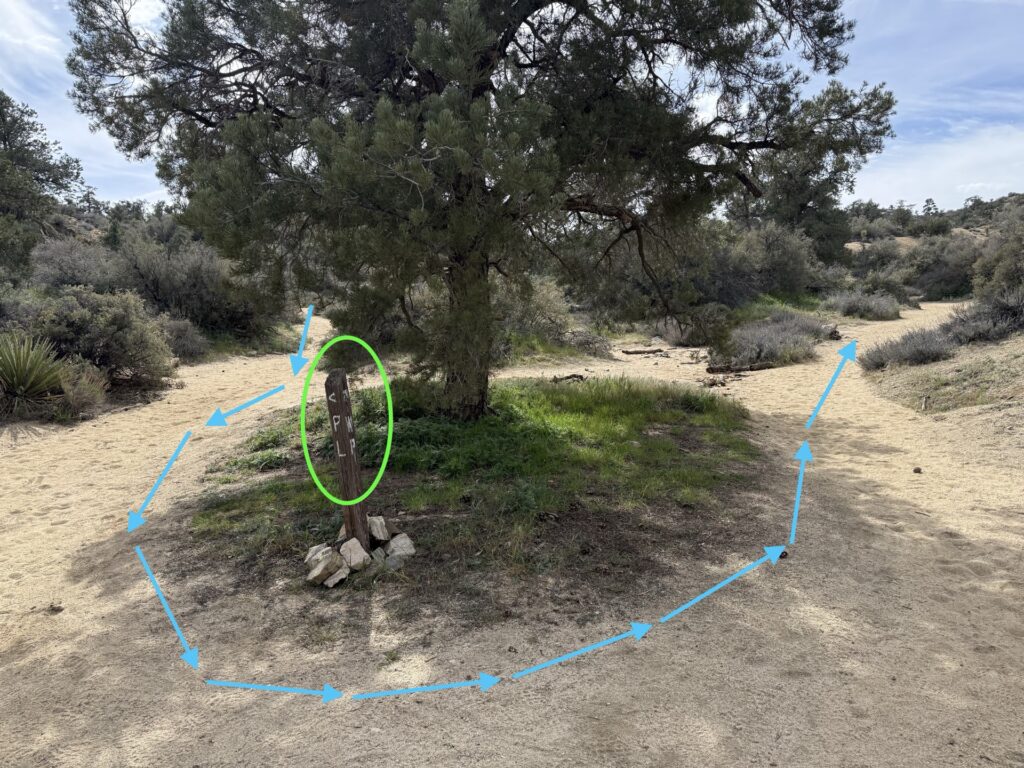
This split is easy to miss. You’ll approach the trail marker from the back (coming from the left in the photo below), and then have to loop around it to see the arrow pointing to the right. It doesn’t help that the sign post just says PL (Panorama Loop) and WP (Warren Peak.)
The trail to Warren Peak is an out-and-back that is pretty much straight up the peak and back down. Both peaks have similar views and crowds. I don’t think you have to do both peaks, but if you have time, it’s more of a “might as well” situation. You basically can choose if you want to spend more time hiking now or more time scrambling later.
Whether you add Warren Peak of not, you’ll end up back at the split above. Continue down and the trail will lead right back to where you started. We finished this hike at around 1:15 PM. If you didn’t do Warren Peak, you’d probably be back around noon.
AllTrails calls this hike moderate. I would have called it easy, which is how it felt in the moment. However, my calves were on fire for three whole days after this, so I think the sandy terrain made it harder on my legs than I realized. I concede it’s probably moderate.

Scrambling: Part 1
After the hike, head to the Joshua Tree West Entrance Station. This is where you will need your entry pass. And since it’ll be later in the day, there will probably be a queue to enter the park. In our experience, the ranger was out checking passes in the queue, and if you already had yours purchased, you could skip the line and enter.
Follow the main park road to about here.
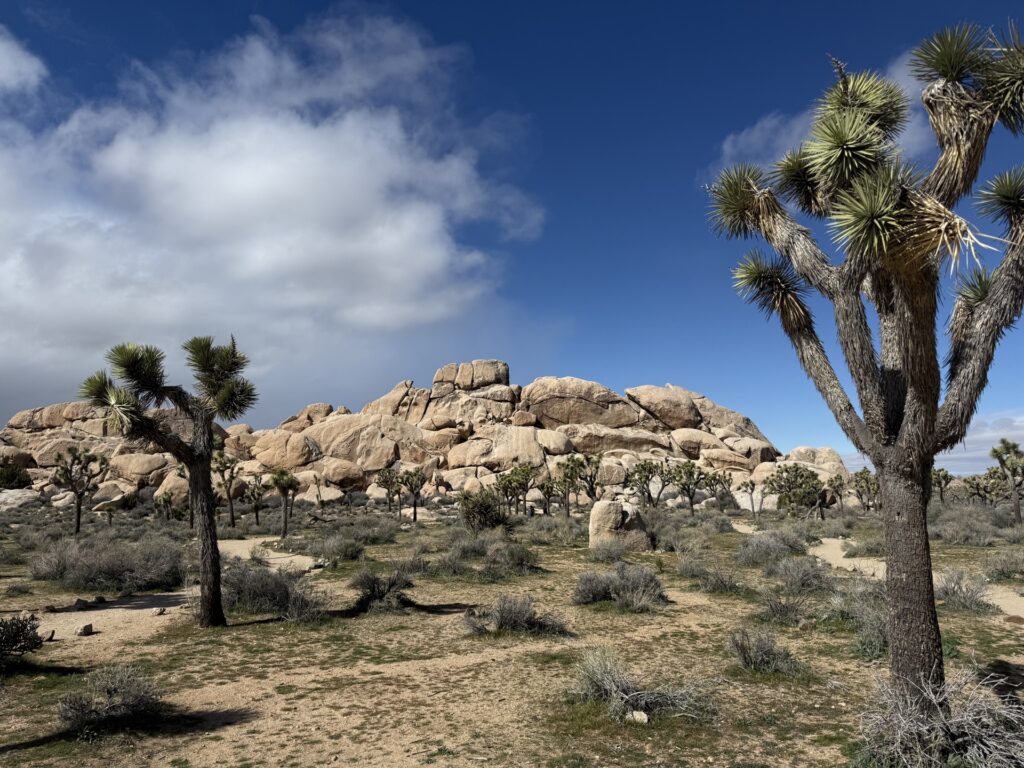
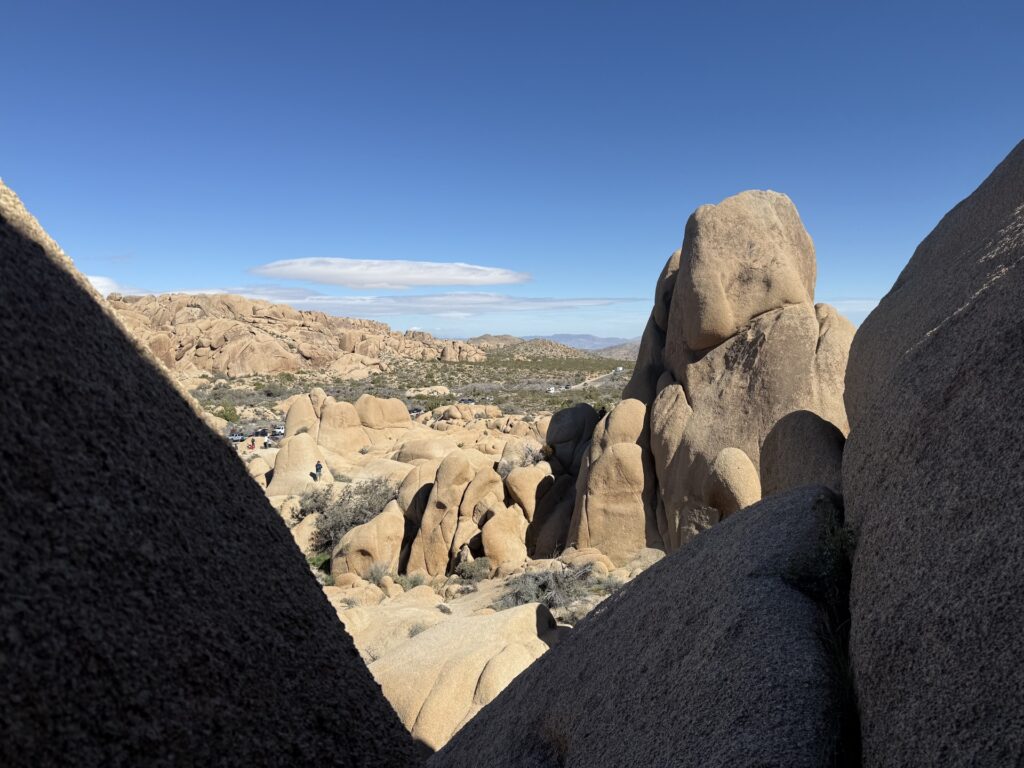
Joshua Tree National Park is known for its scrambling. Scrambling is the people’s rock climbing. It’s basically a fancy term for climbing on rocks but not rock climbing. It’s a step below actual bouldering, which is still more technical than we’re talking here.
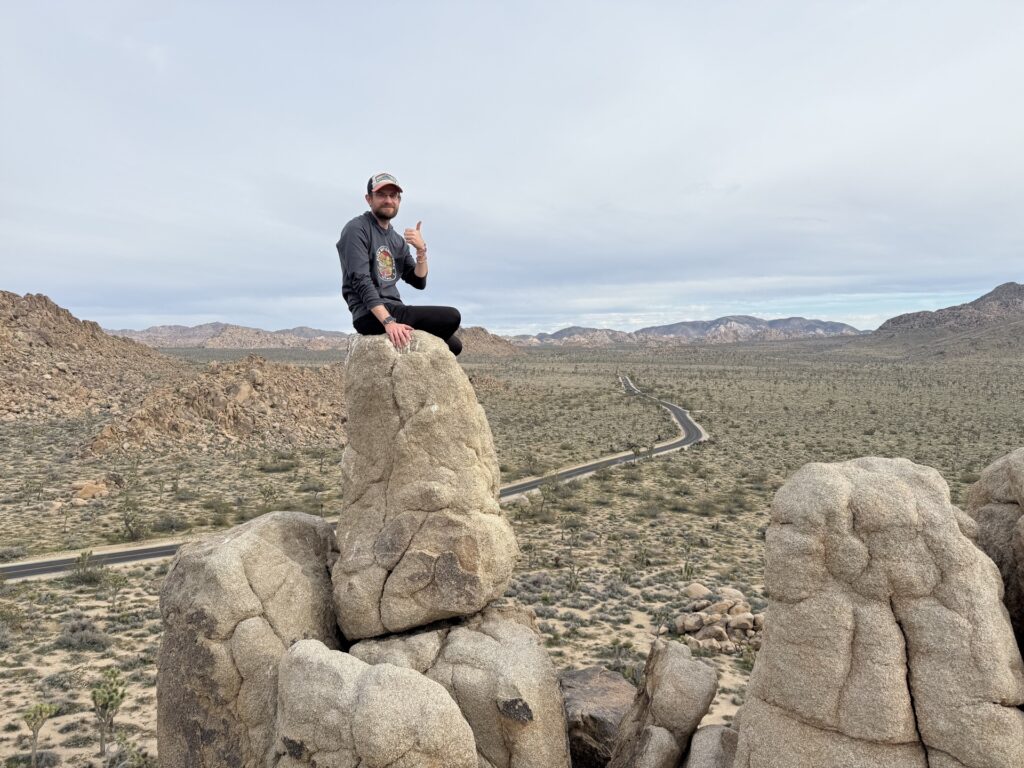
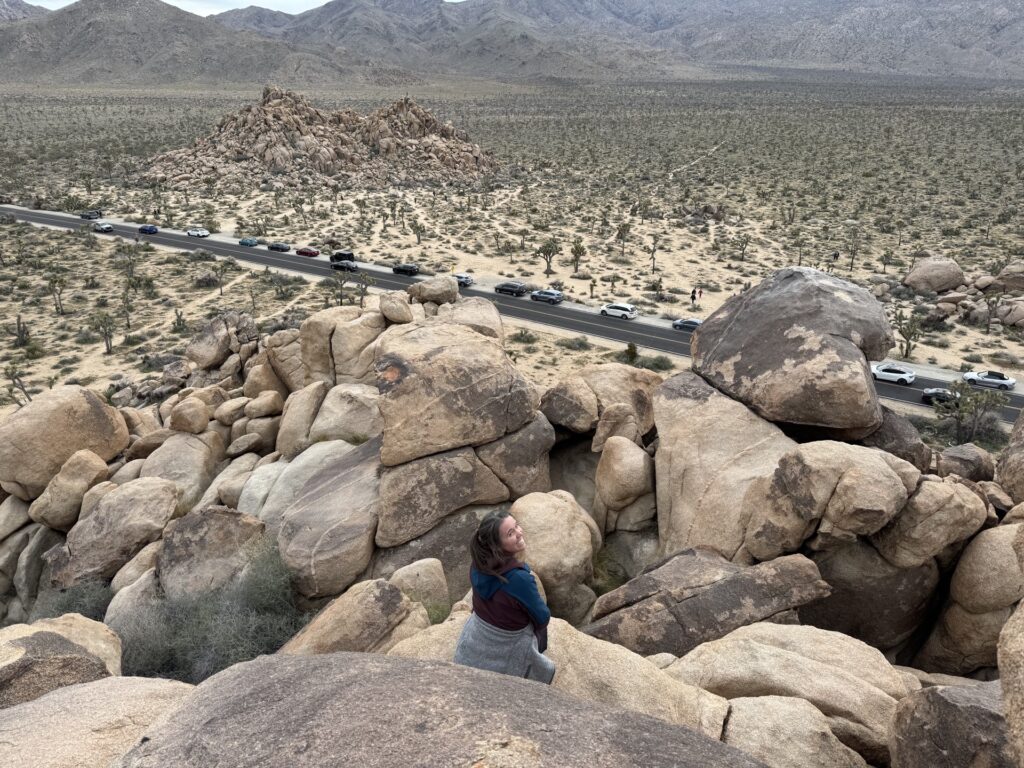
You can scramble all over Joshua Tree National Park, but this is one spot we really loved. It’s one of the first notable rock formations you’ll pass from the West Entrance, and there are large rock piles on either side of the road. Shoulder parking is allowed, and there’s plenty of space.
Note: Be careful! Always use caution when climbing anywhere, including in Joshua Tree. Know you your skills and limits, watch children, don’t climb alone, etc.
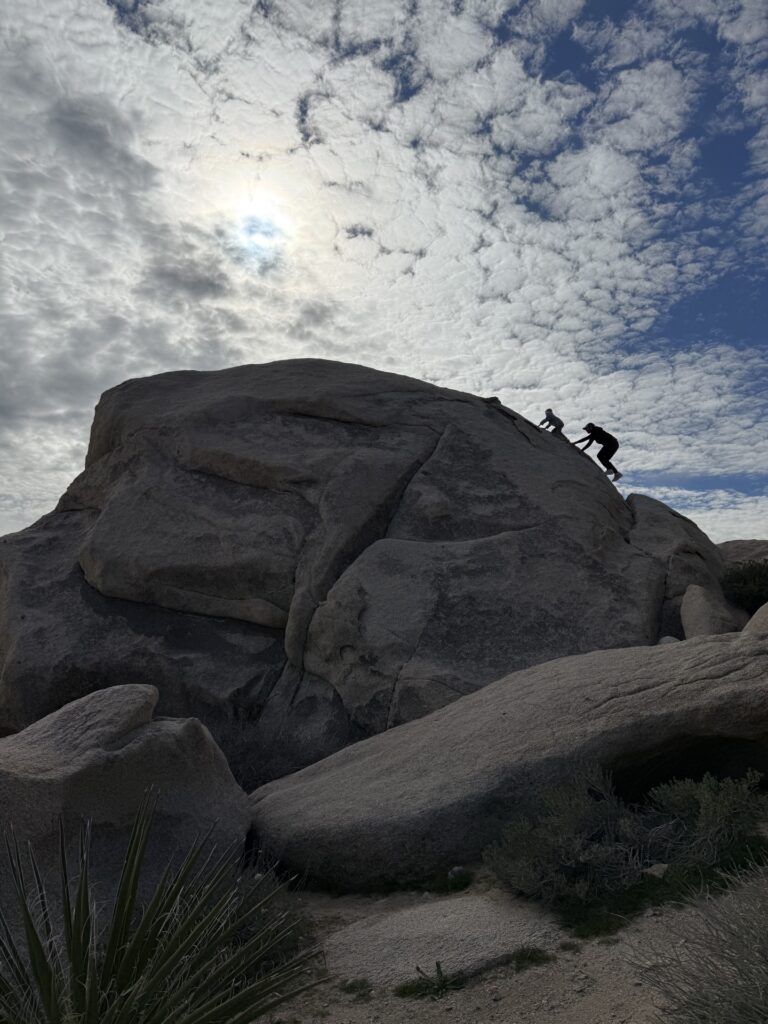
Both of these formations had several people climbing them, but the one on the south side of the road (the twin peaks pictured above above) was much more popular. It was also easier — meaning that it had a clearer route and smaller rocks. There were two different “peaks” and several people of all ages were scaling both of them.
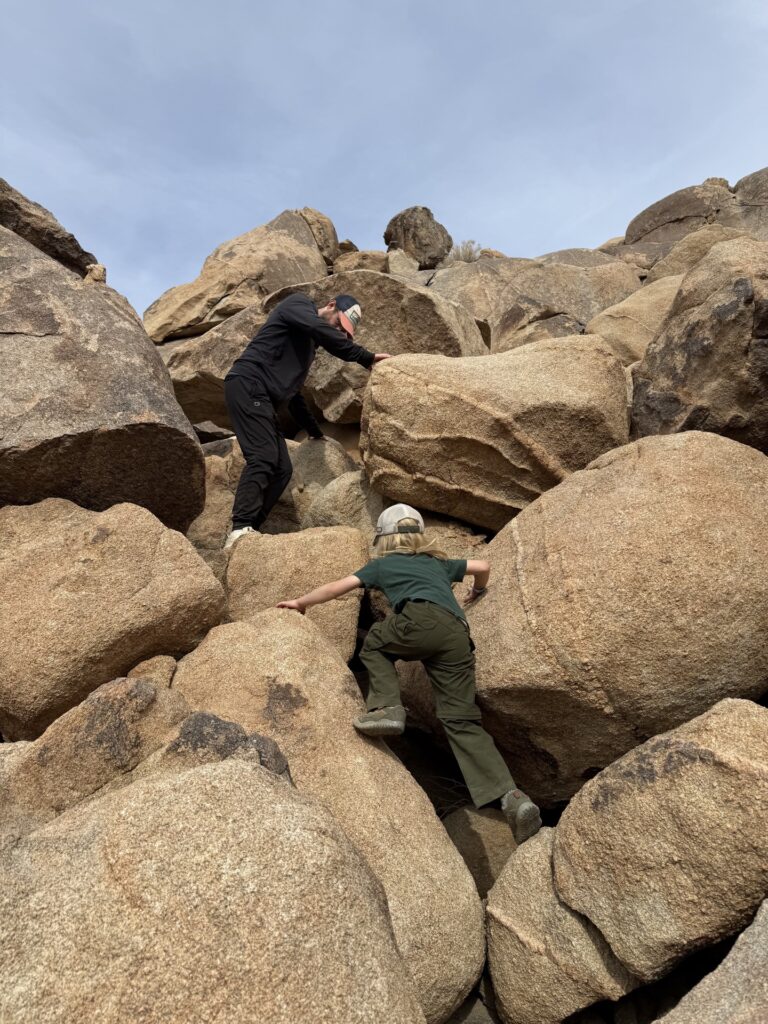
The formation on the north side, was a bit harder. There were fewer people, so you couldn’t easily follow someone’s route. The boulders were also bigger, and harder to navigate up and over. In the photo below, you can see where I decided to quit, while my husband and child took my photo from the top.
Both of these rock formations were challenging, but doable. Despite how it looked, there was not a lot of steep drop-offs. You could typically stay within the rock formation so if you did happen to slip, you’d only fall down to the boulder just below. (Not saying you couldn’t easily twist an ankle, but I haven’t read of many people plummeting from the top.)
Our child was 5 and made it to the top of each formation — they weren’t the youngest one we saw up there either. There were adults of many different shapes and abilities make it to the top, too. That said, we also saw plenty of adults and kids just climb a few rocks up and call it a day. I can’t stress this enough: only climb within your comfort zone.
Plan to spend about an hour here.
Optional: Hidden Valley Nature Trail
- Distance: 1 mile
- Elevation: 114 ft
- Time: 30 minutes
- Difficulty: Easy
- Trailhead: Hidden Valley Nature Trailhead
If you continue on Park Road for about 10 minutes from the scrambling location, you’ll reach Hidden Valley Nature Trail. Stop here if it’s roughly 2 PM or earlier. The exact timing will vary based on how quick you hike, whether you added Warren Peak, and how much scrambling you did. If it’s much after 2, I’d say skip this one.
The other thing that might make the decision for you is parking space. Because this trail is very popular, the parking lot often hits capacity. If it’s full, you can skip it or you can try to see if you can wait out a spot. (In our experience, the sign said it was full, but we went in anyway and found a spot.)
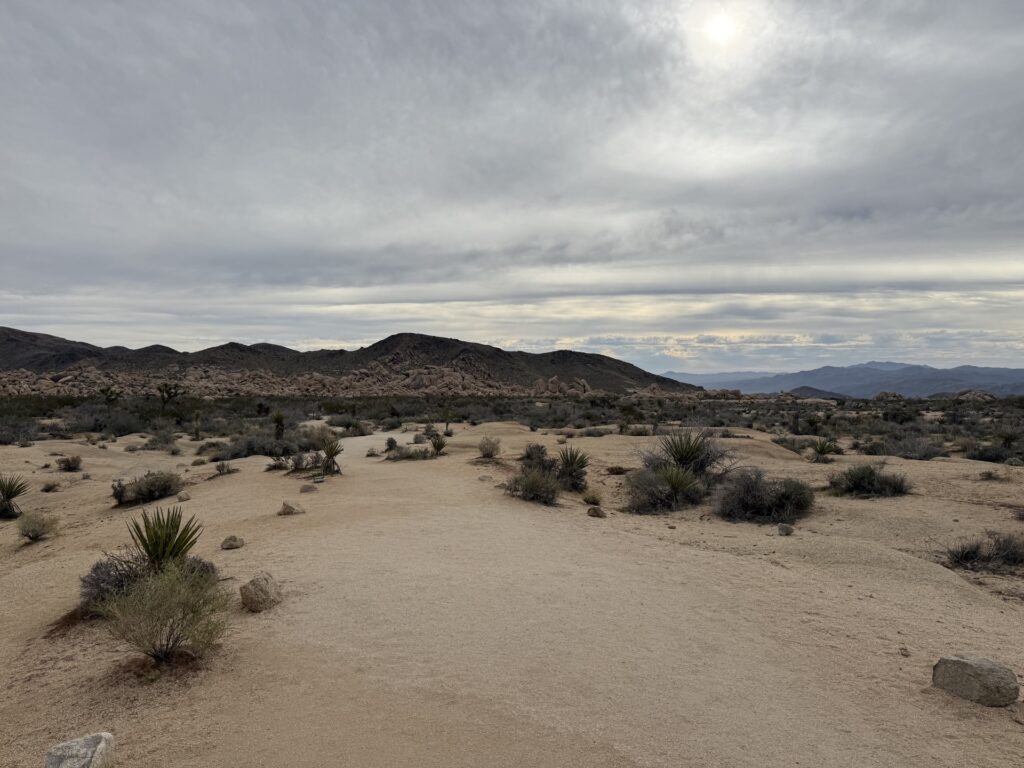
If you have time and find a parking spot, this is a great trail to add on. It’s a short, mostly flat trail that winds through the rocks. It’s said that cattle rustlers in the 1800s would hide away in the rocks along the trail here.
Unfortunately, we got rained out on our attempt to hike here, so we can’t personally give our thoughts.
Scrambling: Part II — Skull Rock
About 15 minutes from Hidden Valley, near the Jumbo Rocks Campground, you’ll find Skull Rock. There is street and curb parking all over this area, so you should have no problem finding a place to pull over.
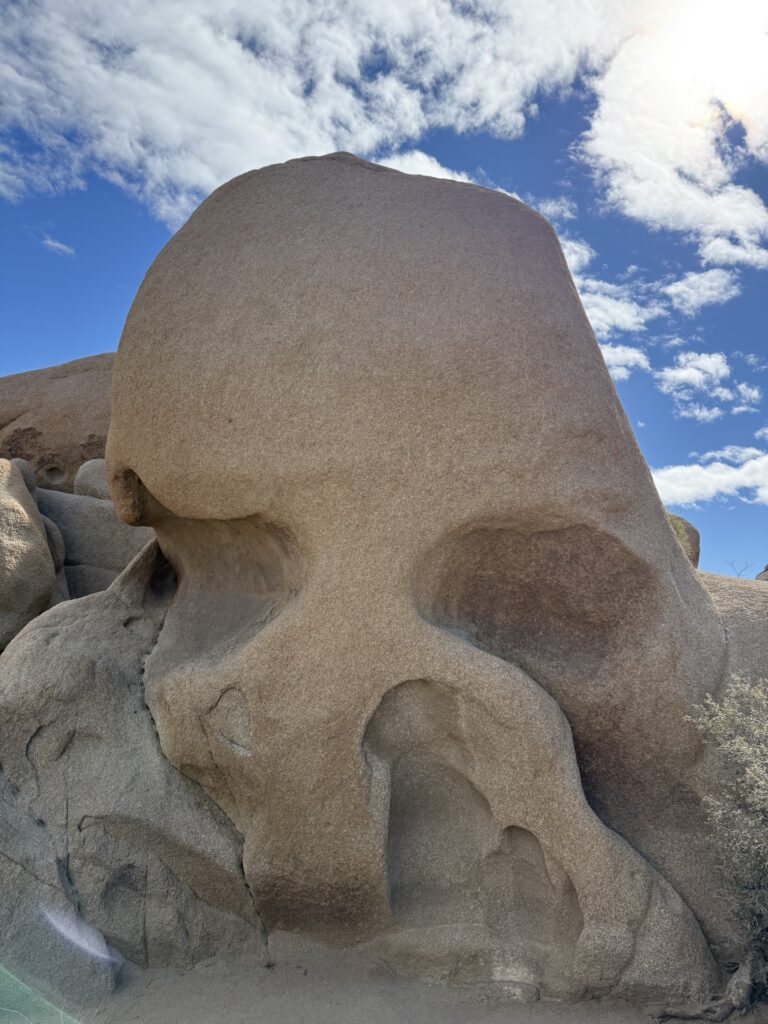
Skull Rock is exactly what it sounds like: a rock that looks like a skull. It’s actually oddly accurate and pretty cool to see. The skull rock itself is right off the main road. There’s also a short nature trail from the rock to the campgrounds.
Definitely see the skull, but don’t leave right after that. This is a great destination for scrambling. There are so many different boulder piles and rock formations to explore nearby. There’s not one main route, but lots of different challenges you can conquer.
More than the first location, there is scrambling here for all ages and abilities. We saw young children who could barely walk climbing up some of the smaller boulders, and daredevil adults scaling the largest ones.
Arch Rock Trail + Heart Rock
- Distance: 1.7 miles
- Elevation: 114 feet
- Time: 1 hour
- Difficulty: Easy
- Trailhead: Arch Rock Nature Trail
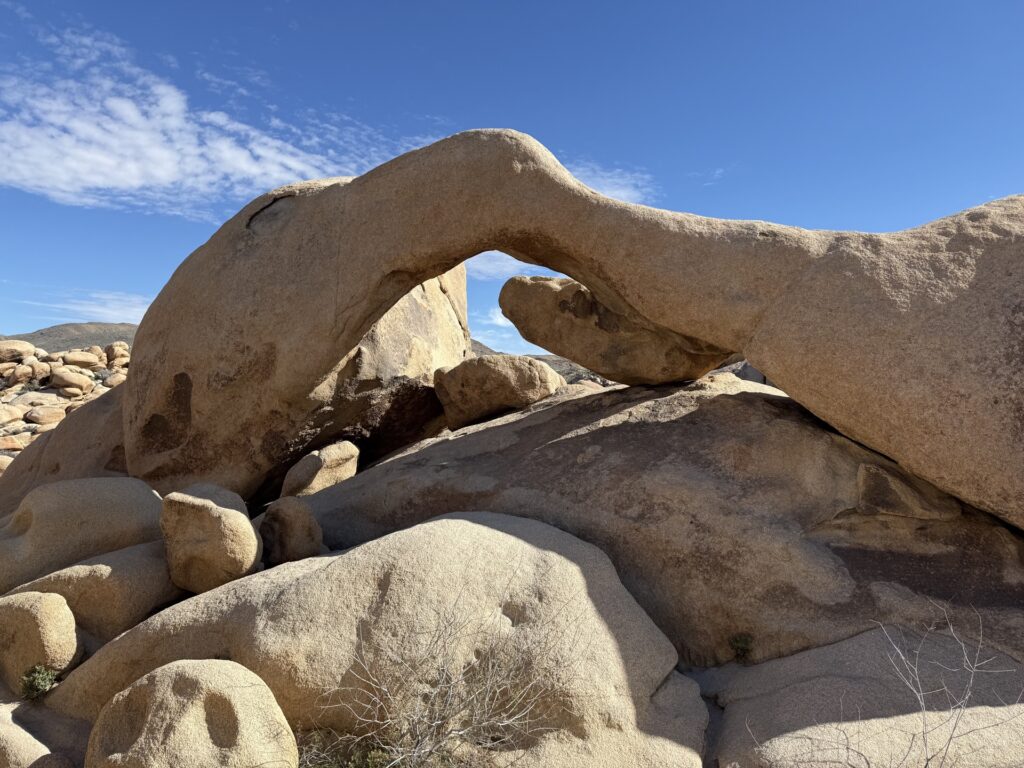
This trail was probably my favorite at Joshua Tree, because it was the perfect balance of hiking and scrambling. You could really make what you wanted out of it.
About 25 minutes from Hidden Valley is the trailhead for Arch Rock Nature Trail. The parking lot here is pretty big, but it could be crowded at this time of day. Fortunately, the turnover here is pretty high, so don’t give up too quickly.
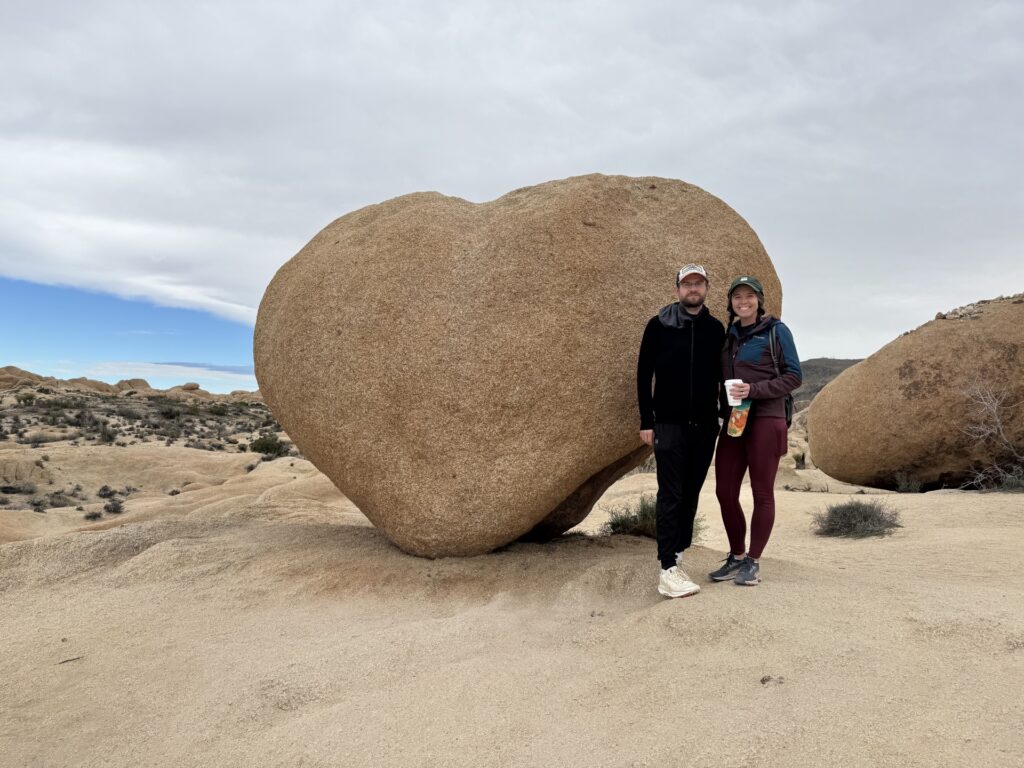
The Arch Rock Nature Trail is a popular, short and flat out-and-back trail. The highlight is — you guessed it — a rock arch. You can also take a short detour to see Heart Rock, which is also exactly what it sounds like. This trail is well marked, and you can follow signs that point to both of these attractions. (First follow signs to Arch Rock, and eventually there will be a split for Heart Rock. If you do both, you end up hiking a Y-shaped route.)
In addition to the focal point rocks, there are lots of opportunities to scramble all around here here, too. This is a fun trail to hike a little, climb a rock, hike a little, climb a rock, etc. It’s a very relaxed trail, that never takes you too far from your car. You can walk it quickly in about 30 minutes or hike-and-climb and fill two hours.
Visitor Center: Part II
As much as I enjoy starting a national park day at a visitor center, I like ending a day at one just as much.
This itinerary basically makes a loop. You’ll end your day at Arch Rock Trailhead, which is just about 10 minutes from the North Entrance Station of Joshua Tree — across the park from where you entered. Conveniently, this exit puts you right back near the same visitor center where you started. (See the map below for a visual.)
The Joshua Tree National Park Visitor Center in Twentynine Palms is open until 5 PM. As long as your day didn’t go past that, it’s worth popping back into. You’ve probably earned yourself a T-shirt or at least a park stamp.
If you have a Junior Ranger who completed their book, be sure to get their badge. There is often a special table set up for Junior Rangers inside the museum area. If not, you can check in at the main Ranger desk.
And that’s a wrap on a perfect day at Joshua Tree National Park.

Itinerary Map
Tips for using this map
- To view the map in Google Maps, click the expand icon on the top right corner.
- Click the star icon to save the map to your Google account for later. To access the map next time, open Google Maps > click the Saved tab > click Maps.
Is 1 Day in Joshua Tree Enough?
While more time anywhere is always nice, a single day at Joshua Tree will be enough for most casual tourists and hikers. Relative to larger national parks, like Yosemite or Zion, Joshua Tree doesn’t have a huge web of hiking trails and peaks to ascend. It’s a relatively easy park to experience with little stress or long time commitment.
The one caveat to that — and always the risk of planning one single day anywhere — is that any bad weather can potentially ruin your day. It doesn’t rain often in Joshua Tree, but when it does, it drastically impacts your plans. Even a sprinkle of rain can make the rocks too slick to safely climb and a desert downpour will call off a hike real fast.
Most of the rain in Joshua Tree falls in the winter (November – March), with a late-summer Monsoon Season bump (late-July and August.) We personally visited in February, and our second day was cut short due to rain. Unless you’re local, you can’t easily plan around the exact forecast, but it’s something to keep in mind.
Tips for Visiting Joshua Tree
- Download the area in Google Maps in advance. There is basically no cell service in Joshua Tree. To help navigate without service, download the map of the area in Google Maps so you can use it offline. (Here is a video of how to do that.)
- Bring a map as a backup. The visitor center has free maps available. Grab one of those too, just in case.
- Pack a lunch and snacks. There are no food services in Joshua Tree, and essentially no water (outside of select camp sites.) Pack a lunch, snacks, and water and bring it in with you.
- Pack out your trash. I like to throw in a little plastic bag (we always have these on us because our little one gets car sick), but putting trash back in your backpack is fine, too. Just don’t liter.
- Bring more water than you think. Joshua Tree is a desert climate. It is almost always sunny midday, and in the summer months that means it’s extremely hot. NPS recommends one gallon of water per person, per day.
- Wear shoes with good treads. If you plan on doing any scrambling, you want to have shoes with decent traction. I brought both Nike Frees (no good) and Nike Pegasus Trail 5s (perfect) and noticed a huge difference. We also brought actual climbing shoes, but we never wore them. Tennis shoes with a sturdy sole and decent traction is really what you need.
- Know your limits. Scrambling at Joshua Tree is a popular activity, and there is something for everyone. However, don’t be fooled by what other people are doing. Only take on challenges you feel comfortable with. It’s not worth hurting yourself to climb on any particular boulder.
- Watch for critters. If you’re squeamish about creepy crawlies, maybe don’t look up the reptiles and arachnids that reside inside Joshua Tree National Park. They’re typically only out in the summer months and most are active at night. It’s still a good idea to be cautious anytime, though. Basically, always look before you put your hands or feet in any rock crevices.
- Get Mexican food. There is lots of good Mexican food in California, and Twentynine Palms is no different. We ate at Lorena’s and it was delicious — especially if you’re vegetarian.
Where to Stay Near Joshua Tree
This itinerary fills one full day with a recommended early start. For that reason, you’ll want to stay near Joshua Tree at least the night before. Ideally, you’d also stay locally that evening. However, you’d potentially have time at night for a drive back to Palm Springs or LA if you were really ambitious.
If you’re a hotel person, the main town to stay near Joshua Tree is Twentynine Palms. There are a few chain hotels (Holiday Inn Express, Fairfield Inn), some local motels of varying quality (9 Palms Inn, Oasis Inn), and at least one deluxe boutique Hotel (Hotel Wren).
For camping, there are options both inside and outside of the park. Most of the campsites inside the park require a reservation, which are available for booking 6 months in advance Recreation.gov. There are a handful of first-come-first-served campsites in the park as well, but if you are that spontaneous of a traveler, I’m not sure this is the guide for you.
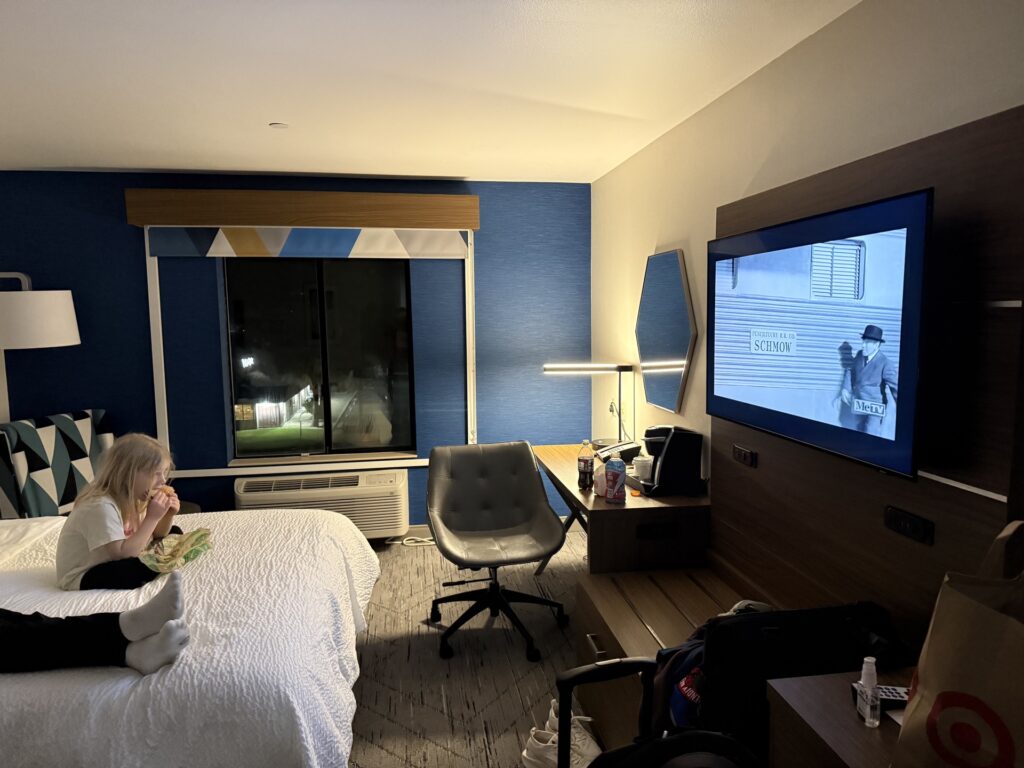
We personally stayed at the Holiday Inn Express. It was on the higher end price wise (~$200 per night), but it was comfortable, clean, and conveniently located. Most notably, the complimentary breakfast was delightful — highlights included Cinnabon cinnamon rolls, an on-demand pancake maker machine, and Horizon chocolate milk boxes.
I apologize, but the only photo I have is my child eating a late-night burger while watching The Three Stooges. (Honestly, anything goes on travel days and this was the end of a long one.)
A Perfect Pairing: Joshua Tree & Disneyland
There are plenty of ways to incorporate Joshua Tree into a Southern California vacation. Since you’ll likely need to rent a car anyway, tacking on a day trip to Joshua Tree fits in quite nicely. To wrap up, I’ll explain how Joshua Tree tied into our full one-week vacation over NYC school’s mid-winter break.
We chose to pair Joshua Tree with our annual trip to Disneyland. This is the second year in a row that we’ve paired a National Park trip with Disneyland. (Last year we visited Yosemite and Pinnacles first.) It works out nicely, particularly with kids, because you do something hard and then get to enjoy something fun. Also, after a nice 8 mile hike, walking around a theme park all day doesn’t seem so bad.
Our original schedule was as follows.
- Saturday: Travel from NYC to Joshua Tree (fly + drive)
- Sunday-Monday: Two full days at Joshua Tree National Park
- Tuesday: Travel to Anaheim
- Wednesday-Friday: Three Full Days at Disneyland
- Saturday: Return to NYC
As it turned out, we got hit with a pretty heavy rainstorm on Monday afternoon. The rain hit suddenly as we were at the top of a rock scramble. We had to hurry down and seek shelter in the car. We tried to wait it out. After about an hour of watching other hikers miserably attempt to tough it out, we decided to call it quits.
Instead of holing up at the hotel all night, we decided to change plans and just drive to Anaheim a day early. We had to juggle the hotel bookings and rental car return, but in total the change only cost us an extra $100 or so. Not bad for getting to spend an entire extra day at Disneyland. (Our tickets included that day anyway, so no extra cost there.)
Ultimately, our 7-day vacation comprised 2 days of transit, 1.5 days at Joshua Tree (instead of 2) and 4 days at Disneyland (instead of 3.5). If you’re job isn’t writing about Disney vacations for a living, you probably don’t need 4 days at Disneyland. Two days there, plus two days in someplace like Huntington Beach or Newport, and you could have a pretty perfect California holiday.
(Unless you want to. It’s Disney.)
Dreaming of other National Parks?
Check out some of the other National Parks we’ve covered on Emjoyable Explores.

Leave a Reply